Pizza, the way I make it.

16:04:29 - Try to use filtered water or at least water that has had time to vent off the chlorine that the water utility puts in drinking water to kill organisms like yeast.
16:04:51
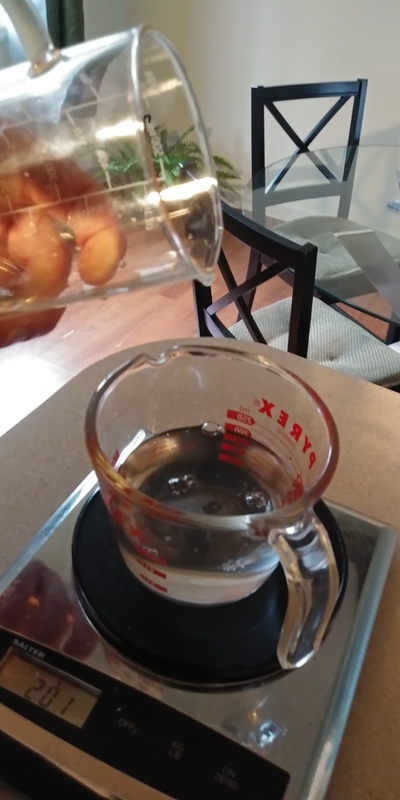
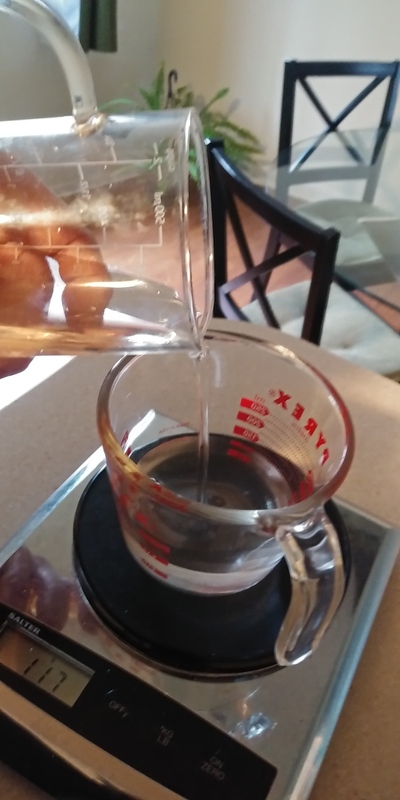
16:05:09 - 200g of water.
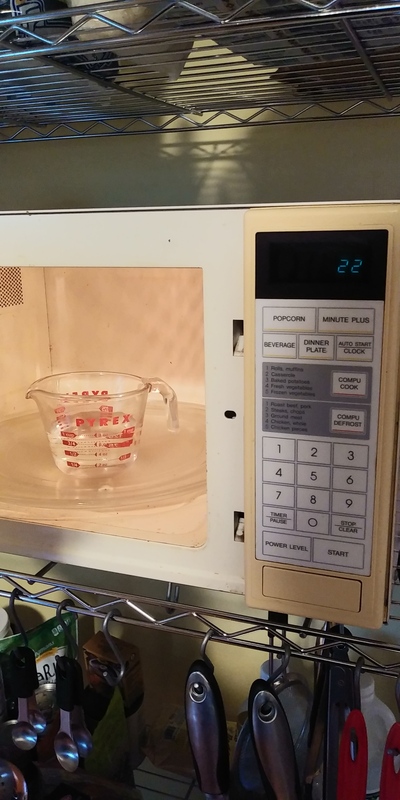
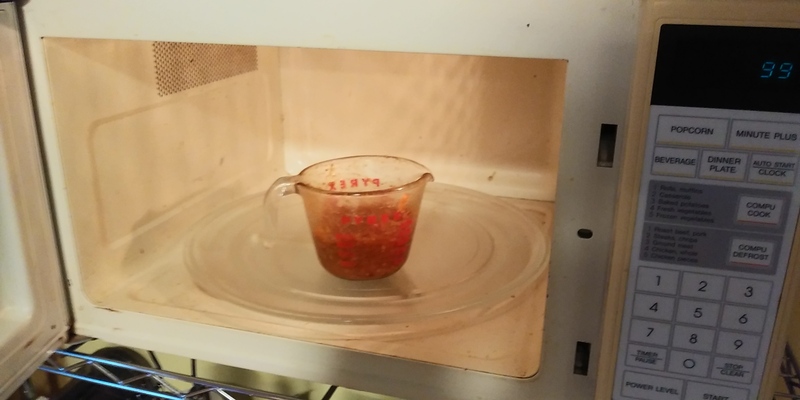
16:05:39 - Heat the water. I’m showing 22sec on the microwave but it’s really more like a minute.
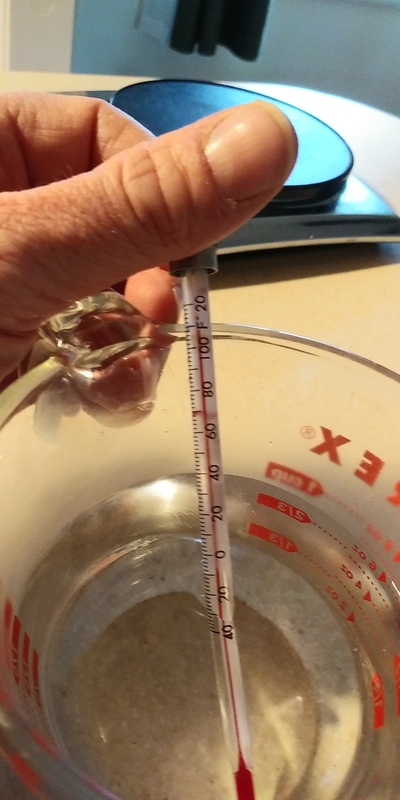
16:07:43 - The goal is around 105F/40C. You can always mix back in cooler water by spoonfuls if you overheat it. Or just wait.
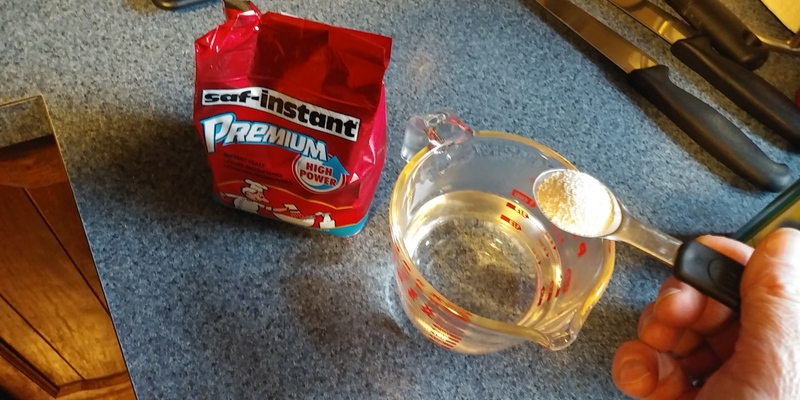
16:09:13 - 1.5tsp of dry yeast. I’m using something like this . Using the 7g packets you get in HFCS shoppes would raise the price by at least orders of magnitude.
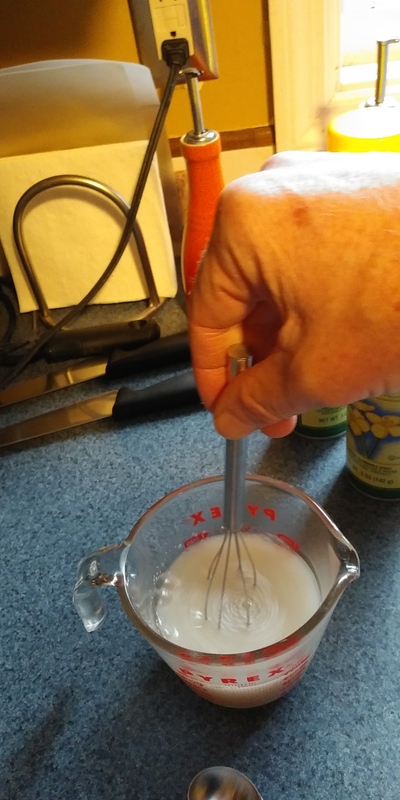
16:09:49 - I like to use a whisk with this form factor.
16:10:48 - This way you can spin it between your hands and it mixes things in a more serious way.
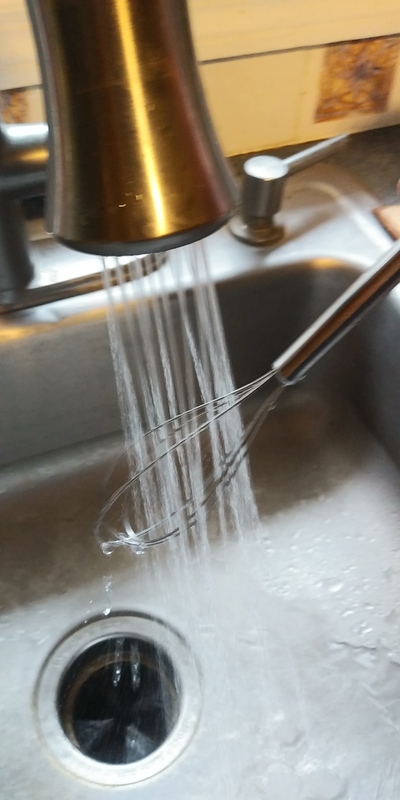
16:11:33 - Wash this immediately! If you let it sit around, it will be much more of a pain to wash.
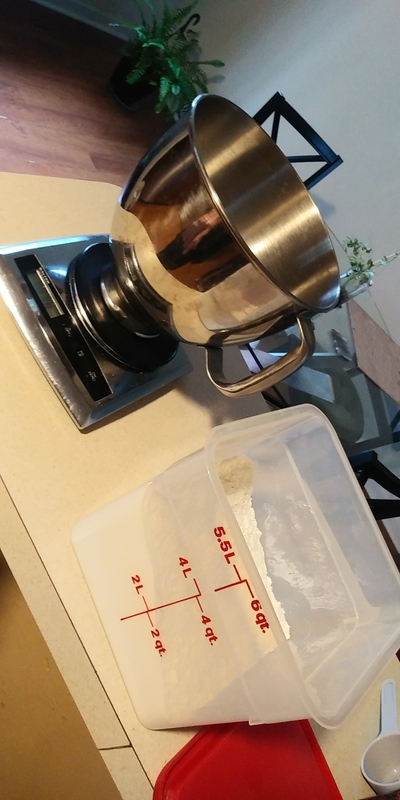
16:12:31 - It’s efficient to measure/weigh right in the mixing bowl. But you need a scale that can take that range of the combined weight. Zero the tare weight and give it a try.
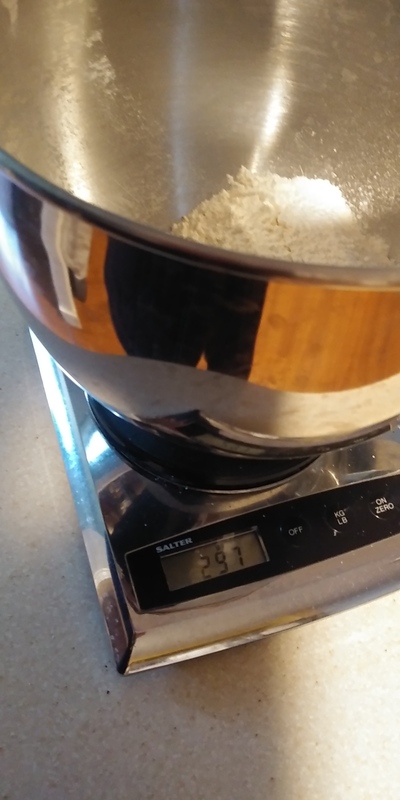
16:15:05 - 300g of flour. Regular flour is fine. Any really will be ok. Experiment.
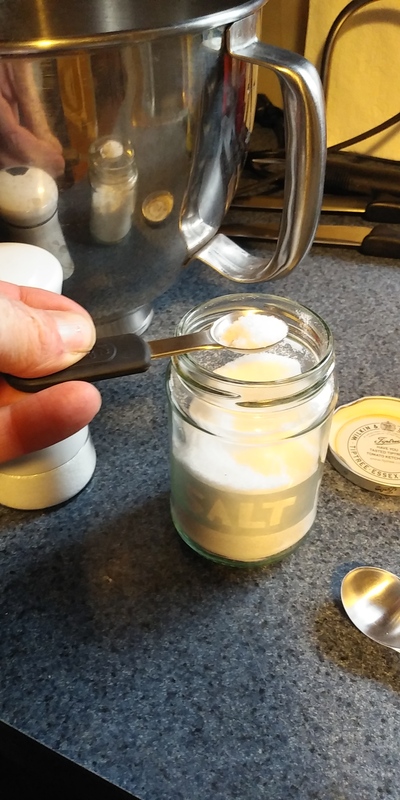
16:16:53 - 0.5tsp of salt. Salt kills yeast so you have to take a balanced approach. No salt and then it doesn’t taste right.
16:16:58 - Just put the salt dry in with the flour.
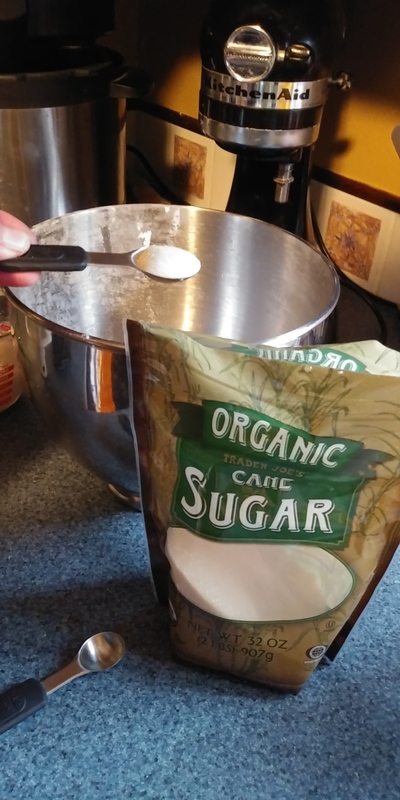
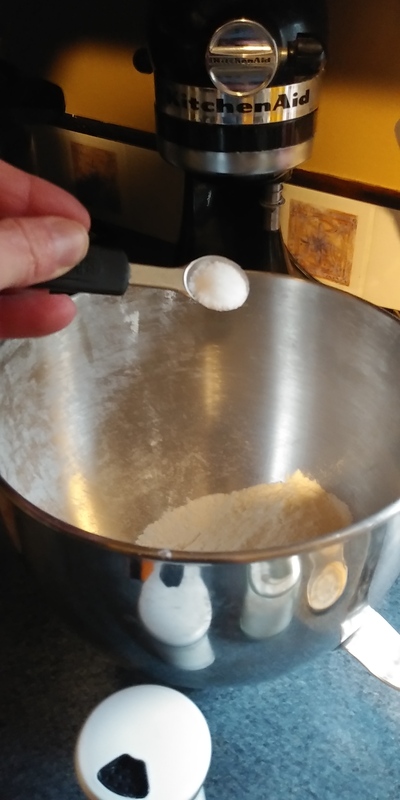
16:17:44 - 1.5tsp of regular sugar. This isn’t for taste but more for the yeast to eat. You can experiment with putting it in with the yeast and whisking it.
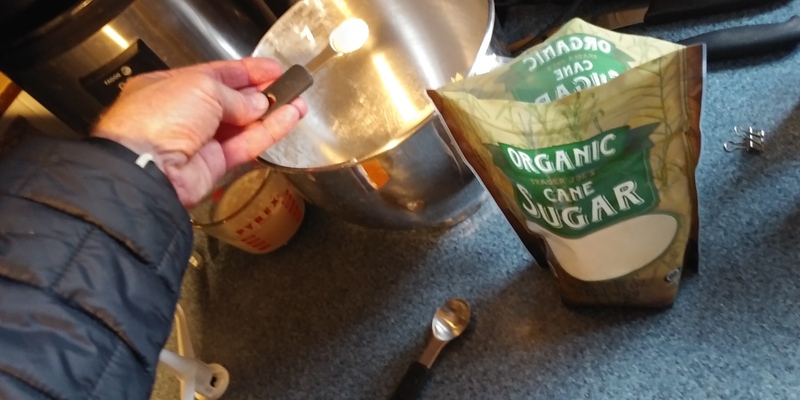
16:18:10 - The 0.5tsp of remaining sugar.
16:19:34 - Against protocol I do not use the dough hook. That will just toss such a small amount around without doing anything to it. Use the cookie attachment as shown.

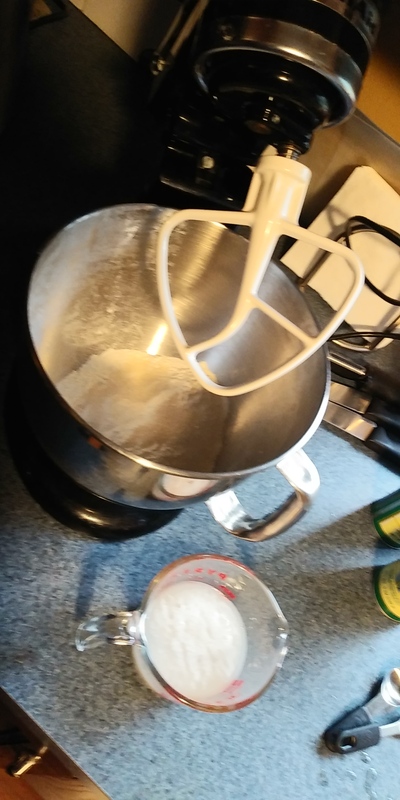
16:19:48 - First turn the mixer on high to break up the flour and distribute the other powdered ingredients.
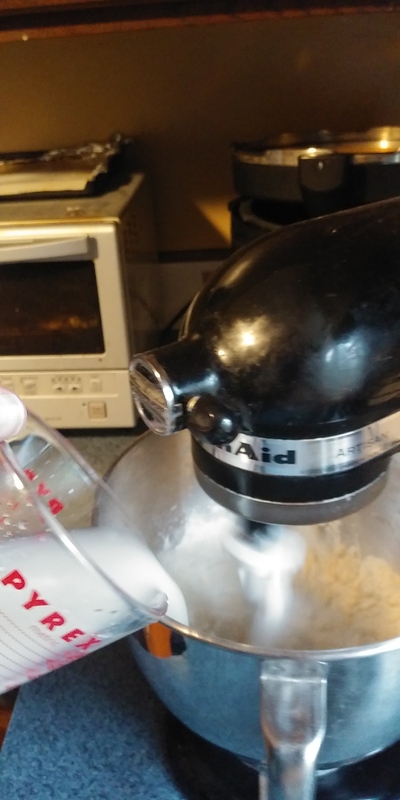
16:19:59 - Turn the mixer down and pour the yeast water in.
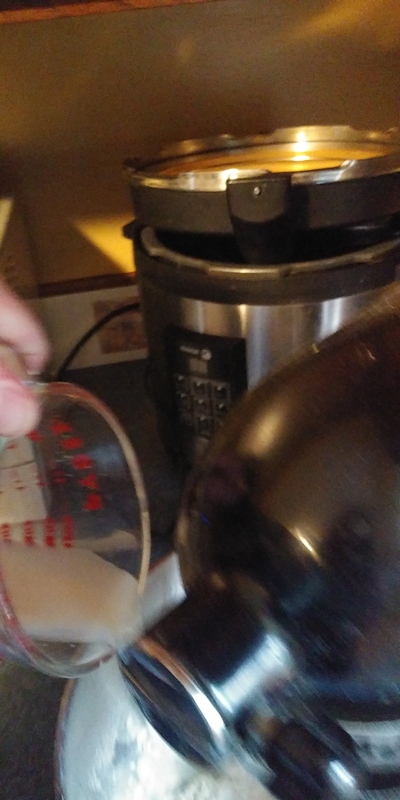
16:20:01 - I like to pour it in such a way to get the wall of the mixing bowl wet in a big arc. This helps make it sticky enough to not just slide the dough over.
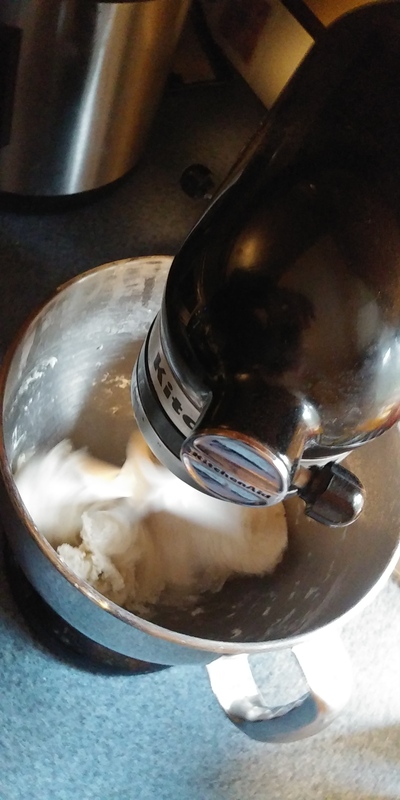
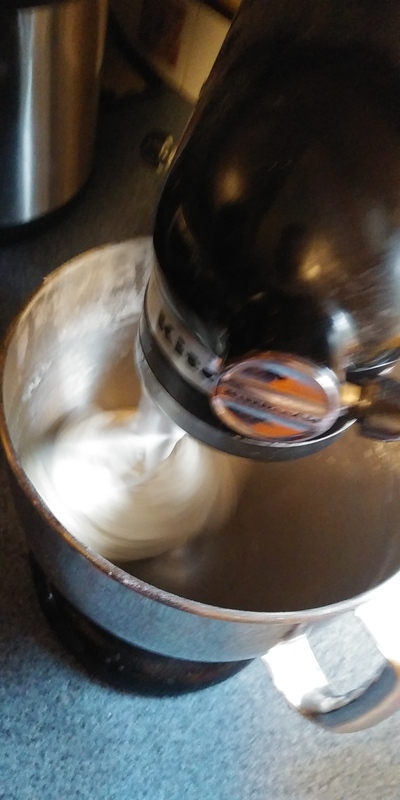
16:20:11 - At first it will look like the mixer is doing a great job. And it is.
16:20:48 - But it doesn’t take long before it just balls up on the attachment and isn’t really doing anything.

16:21:40 - I usually stop and pry it off the attachment a couple of times.
16:21:55 - You can try sticking it to the sides which can help it not just ride around on the attachment.
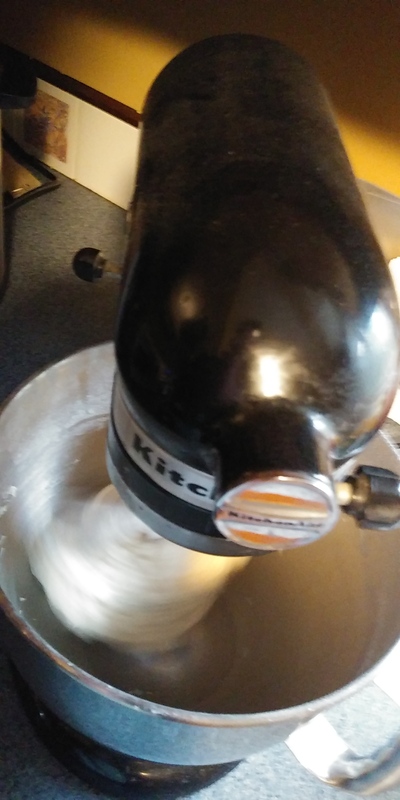
16:23:02 - Eventually it won’t really work the dough at all and I call it done.
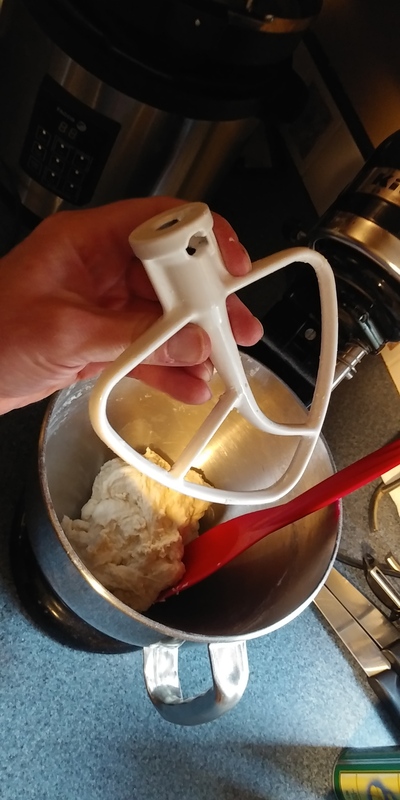
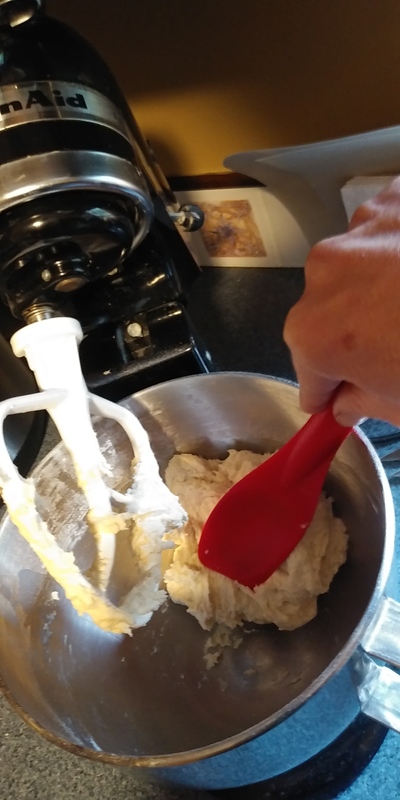
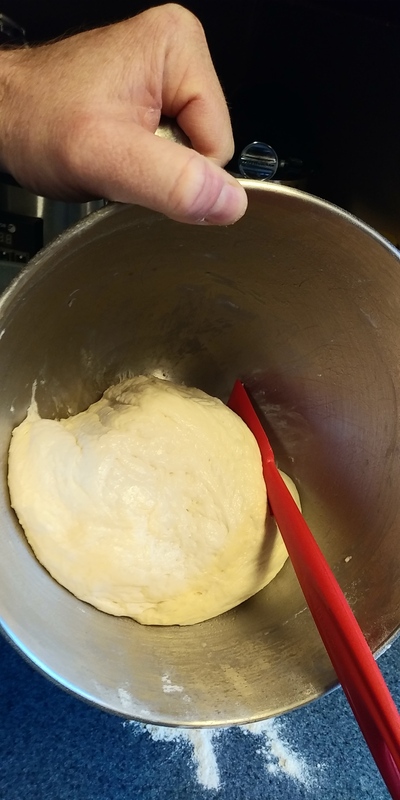
16:24:32 - Scrape it off the attachment. It should come off pretty easily.
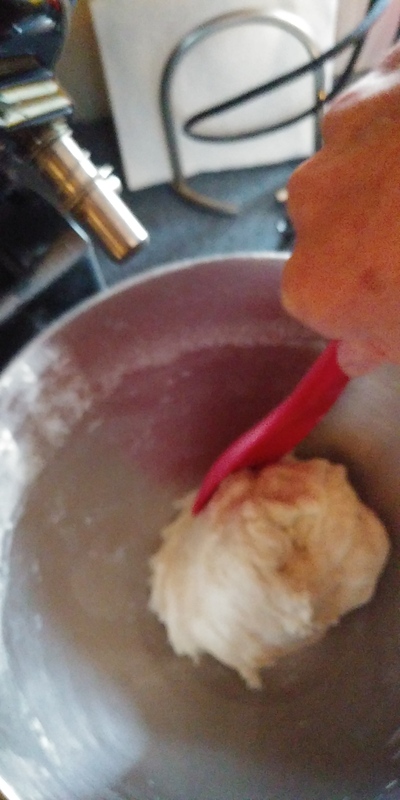
16:24:52 - Scrape the sides so that all the dough is together.
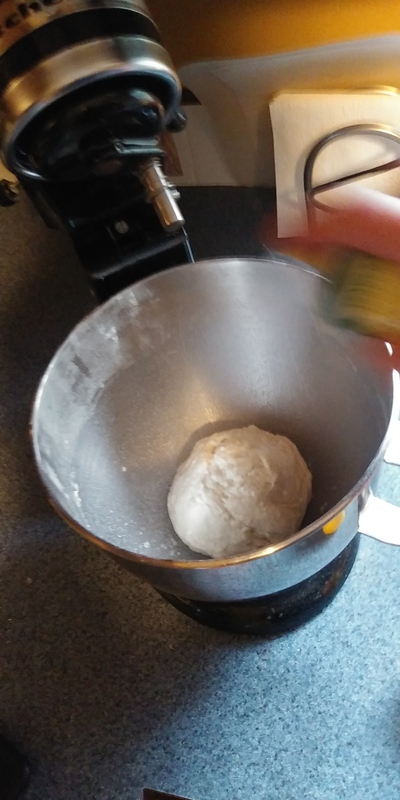
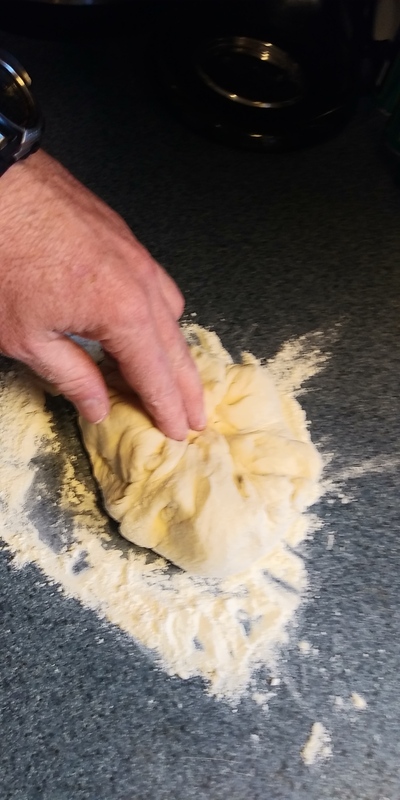
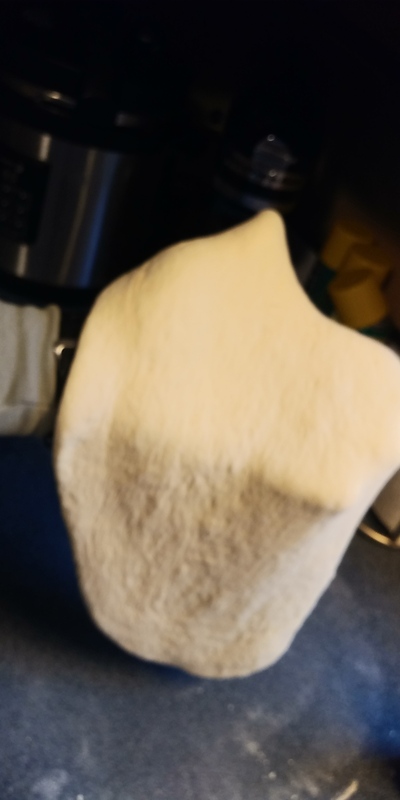
16:25:01 - Form the dough into a kind of ball with as little touching the sides as possible.
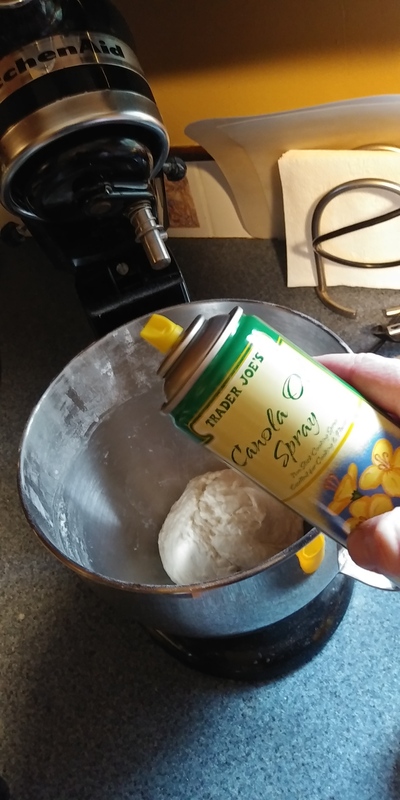
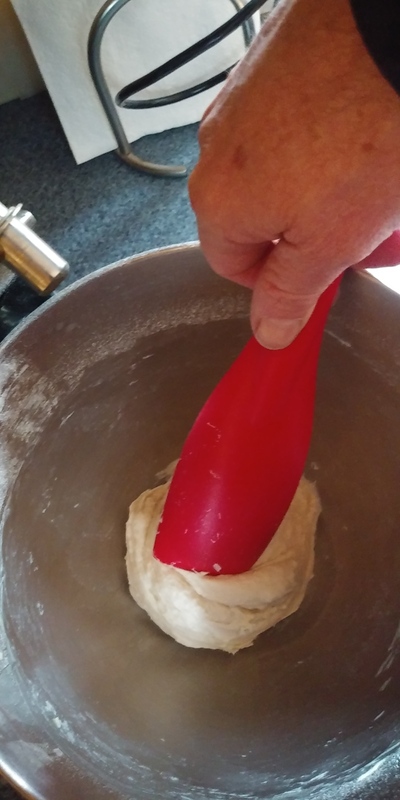
16:25:47 - I spray some canola oil on the dough and the sides of the bowl at this point.
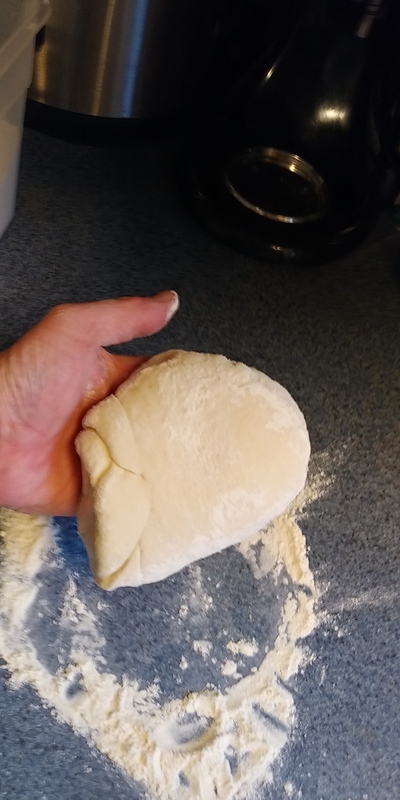
16:25:56 - This will help later after it rises.
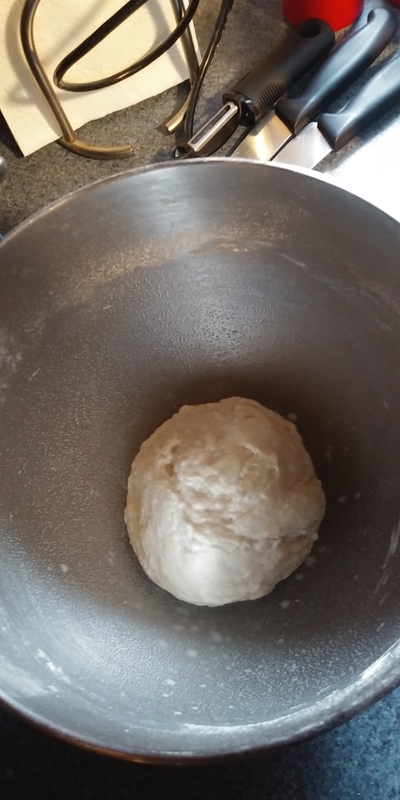
16:26:06 - Use as little as necessary to coat things. It should look about like this.
16:27:04 - I put a clear plate on top so I can watch it.
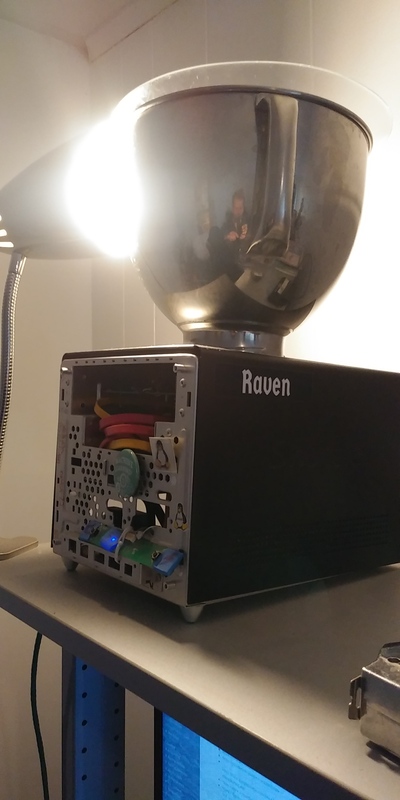
16:28:49 - Then I put it some place warm. I like to put it on raven , my server. It was designed to not be hot but no running computer is cold. Add an LED light bulb and it will keep it decently warm even if you’ve got a cold climate with a sub 20C house.
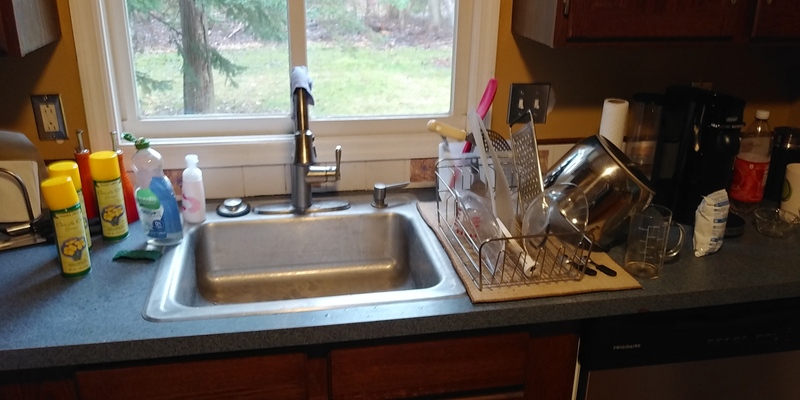
16:29:03 - As you can see I’ve been cleaning as I went — all dishes from those processes (not in use) are now clean.
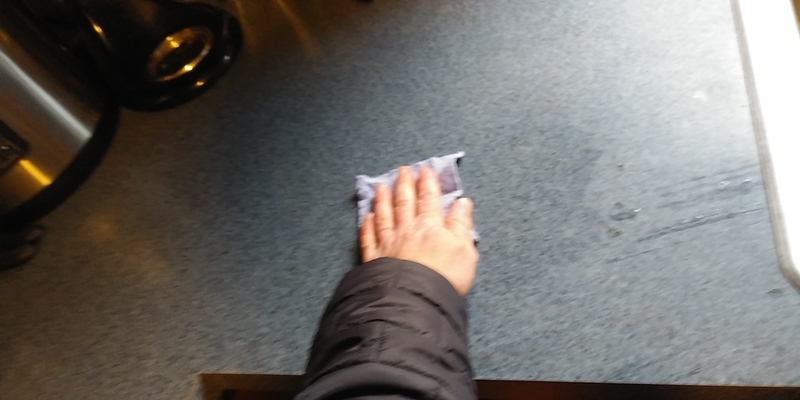
16:35:53 - This is a good time to clean the space you’ll roll out the dough. This space needs to be very clean and very dry. That is why it’s a good time to do that now while you wait for the rising.

16:36:59
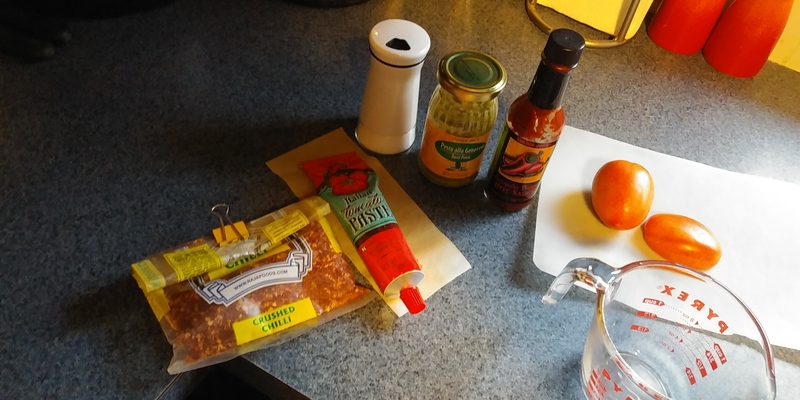
17:30:58 - I’m making a random tomato pizza sauce here with stuff I have on hand and am kind of trying to use up. But still, it will be good!
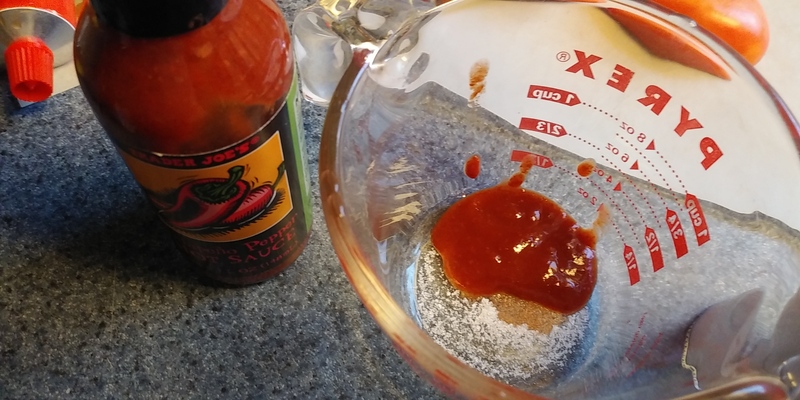
17:31:53 - This much salt in the sauce and the red stuff is Trader Joe’s tabasco-like sauce. I like it because it does not have sodium benzoate in it.
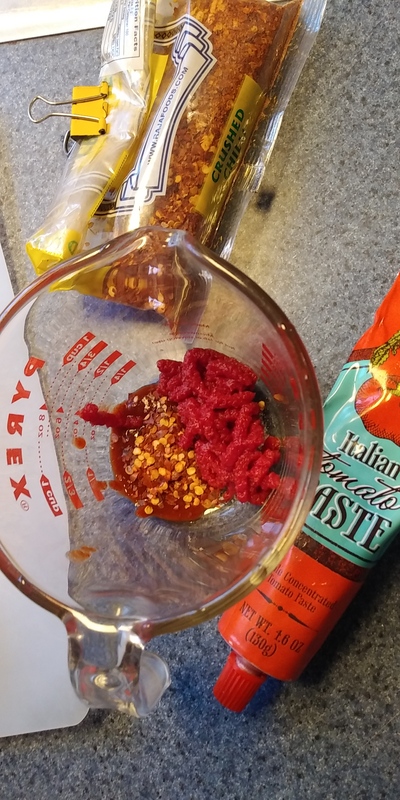
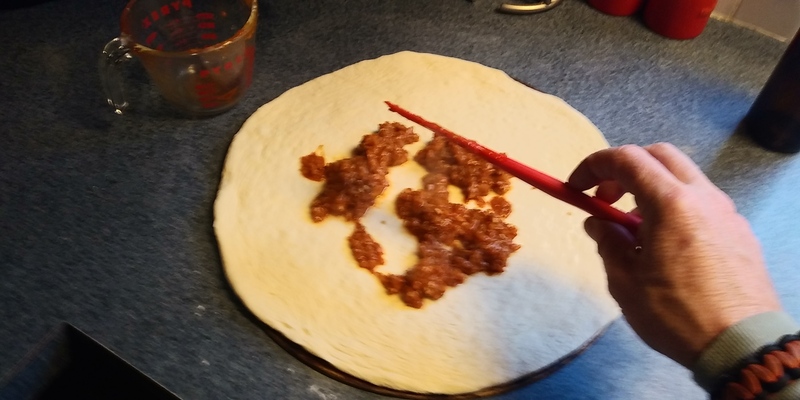
17:33:14 - Next I’m adding some crushed red pepper and some Trader Joe’s Italian tomato paste. I like this form factor of tomato paste (which I did first encounter in Europe) because it lets you achieve good tomato flavor without committing to opening an entire can, the form factor normal in the USA.
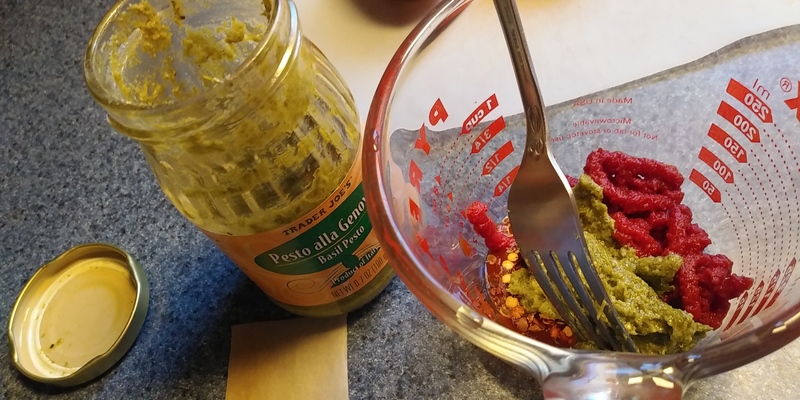
17:34:38 - This ingredient is very odd but since I’m trying to get rid of this pesto, I’m putting some in. It makes the sauce taste very weird but in a good way. It is good for an occaisonal change.
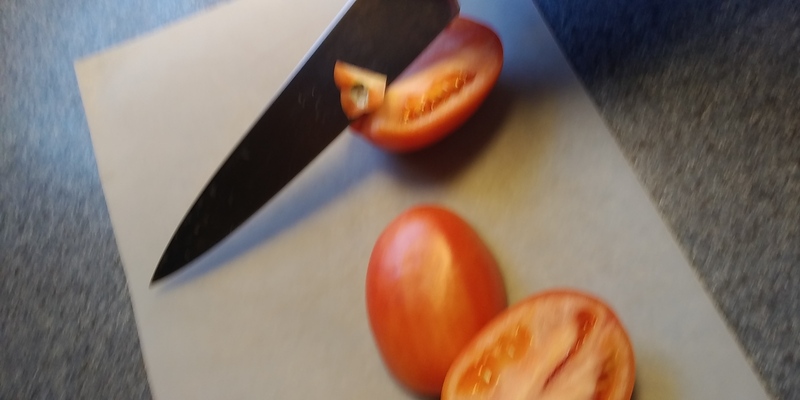
17:36:02 - I had half a tomato cut in the fridge already. I’m adding another whole one. These are $0.29 each at Trader Joe’s and a good way to buy tomatoes when they’re for sale (in season).
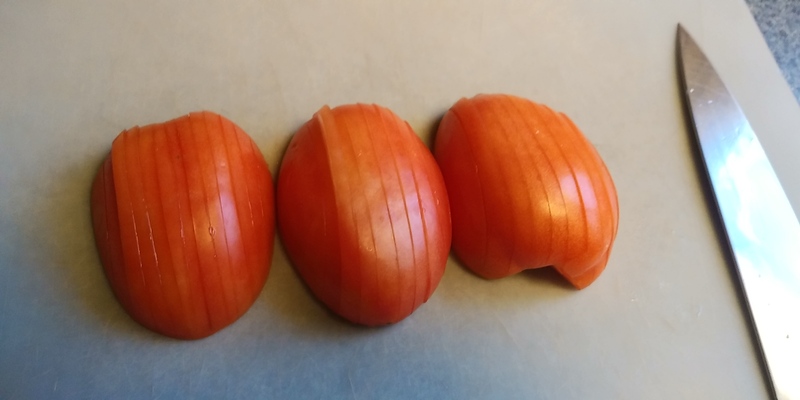
17:36:55 - I hate burning my mouth on a huge chunk of tomato so I put my knife skills to work and make sure the peieces are cut fine.
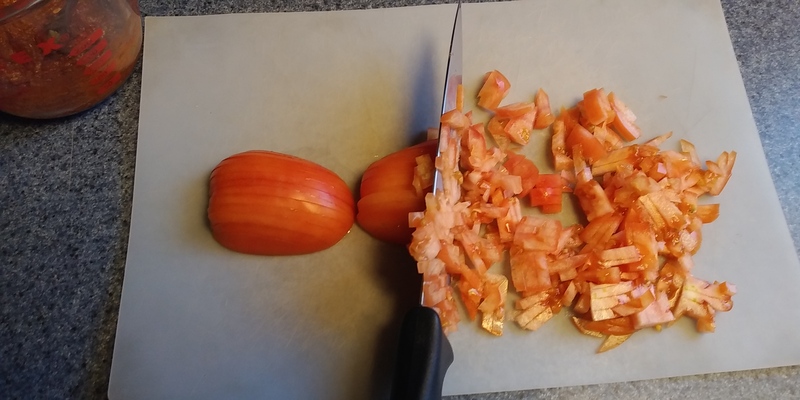
17:37:53 - This releases a lot of the fresh tomato flavor too.
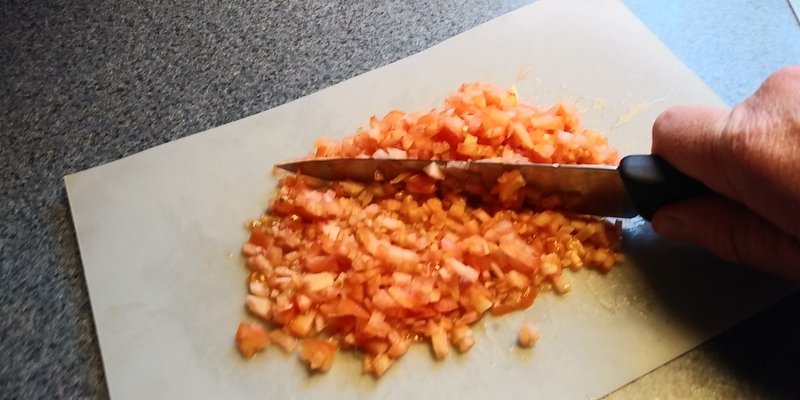
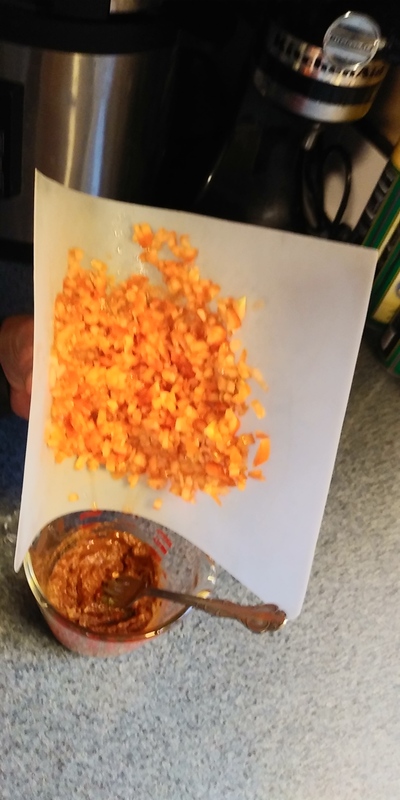
17:40:01 - When you start to really mince the tomato, a lot of liquid is released which combines perfectly with the dehydrated tomato paste to make a very reasonable pizza sauce.
17:40:27 - I use these flexible mats because not only are they very efficient to work with as shown here, I actually think they do the best job of protecting the edges of my precious knives. I own two of these Swiss Victornox 6" Fibrox Chef’s knives which I swear by. They easily beat more expensive knives for usability, and as a bonus they’re cheap. Only $26.03 right now!
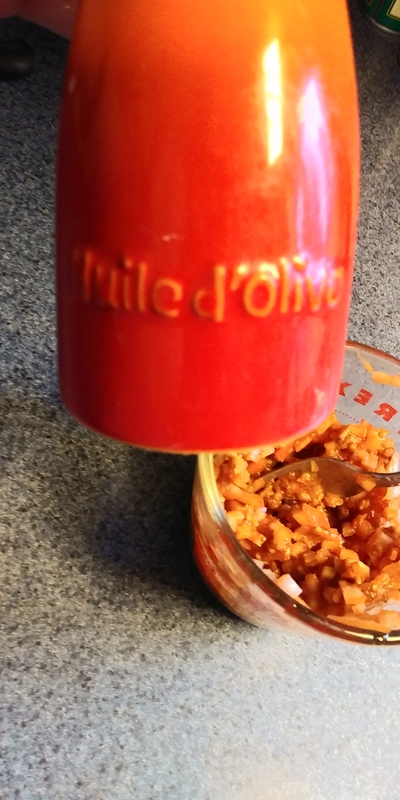
17:42:05 - It’s optional but a little "huile d’olive" (olive oil) in the sauce doesn’t hurt.
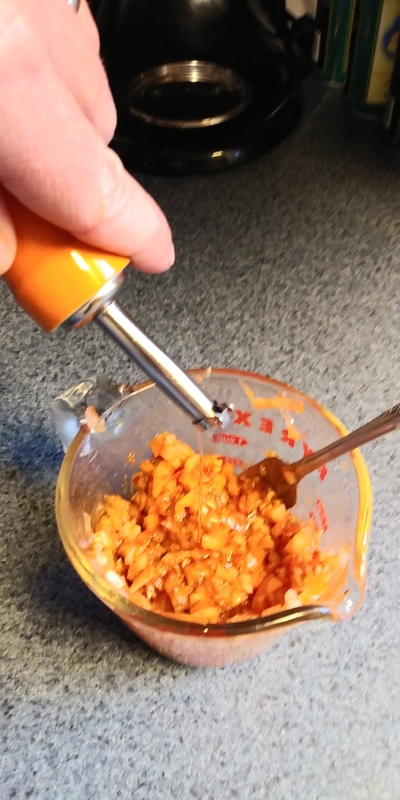
17:42:24- Use 1.5 teaspoons if you must measure it — I just wing it so as not to have to clean a spoon. There’s a lot of latitude here.
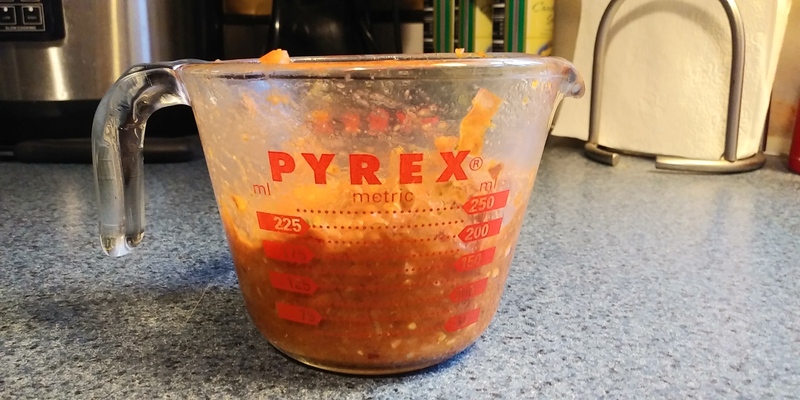
17:43:18 - This is about how much you will need.
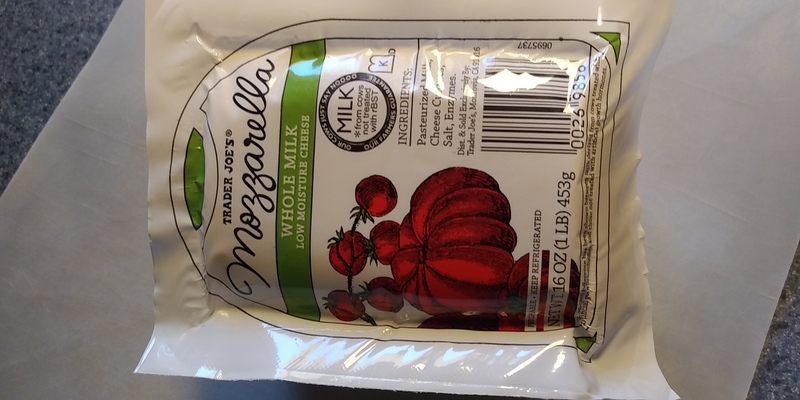
17:44:04 - You could buy pre-shredded "pizza cheese". I used to. I stopped when they started adding natamycin , an anti-fungal medication used to treat eye infections. They did this to it to suppress mold. Better to just not have mold the honest way.
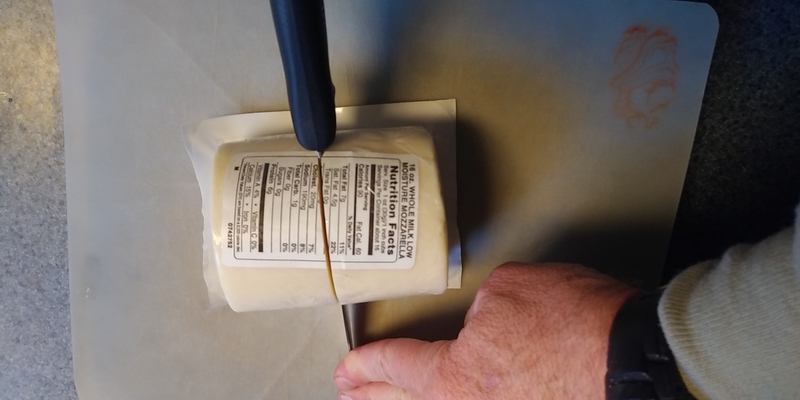
17:44:25 - Cut the 1lb block in half. You’ll use 227g.

17:45:32 - If you cut the package carefully, you can completely cover the other half.
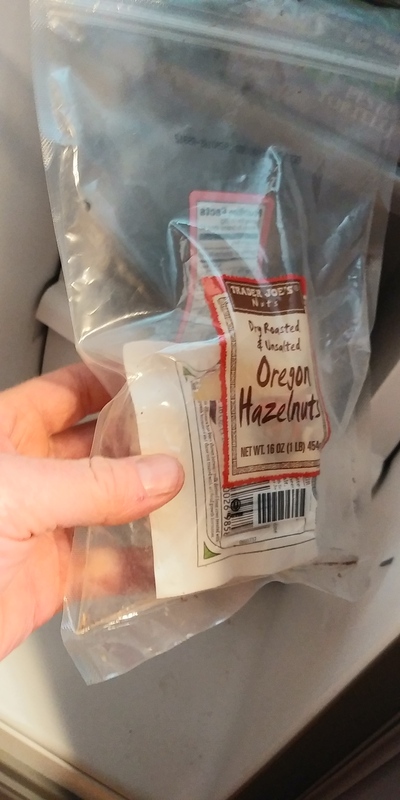
17:46:03 - If you don’t cut it carefully, put it in another bag and put it in the freezer. Am I worried that the cheese will end up smelling/tasting like hazelnuts? Uh. No. That would be awesome! Which is why I reuse such bags. Note that if you thaw a block of cheese in the fridge 24 hours before using it, it will make pizza that is indistinguishable from the first half. No need to fret over it going bad!
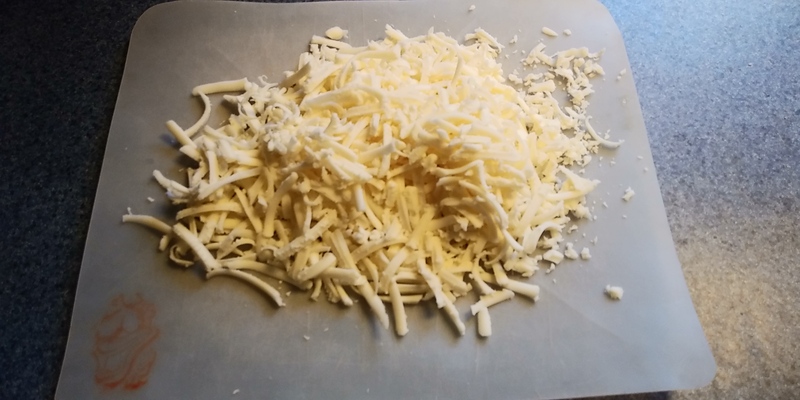
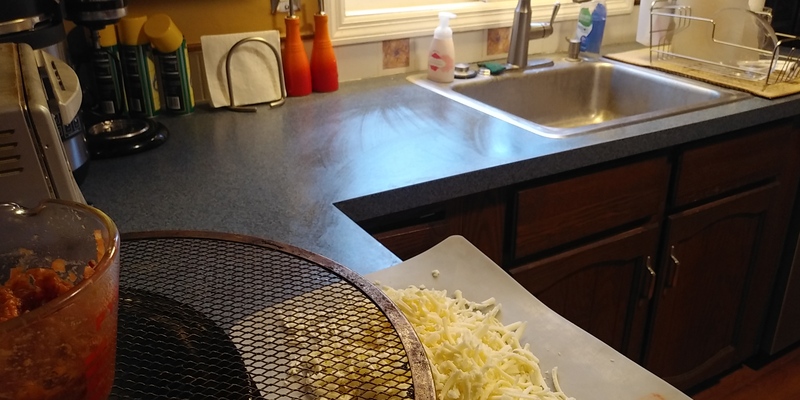
17:48:41 - This is what the pile looks like after grating the half pound.
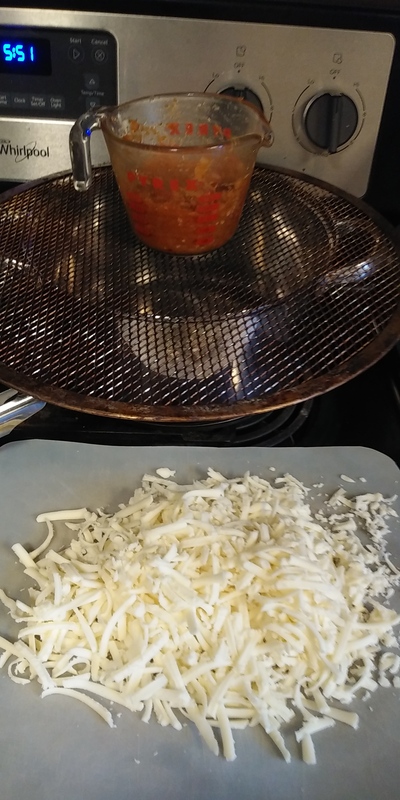
17:51:39 - Set that aside. Leave it out so that it is room temperature. Well, unless you’re some place hot and that’s a problem.
17:52:03 - Make sure your work area is clean and dry.
17:55:12 - I like to heat the tomato sauce. It brings out flavor nicely and I think it even helps the dough to rise when it’s warm. Don’t make it too scalding when you apply it or you will poach the crust and it will be like a bagel.
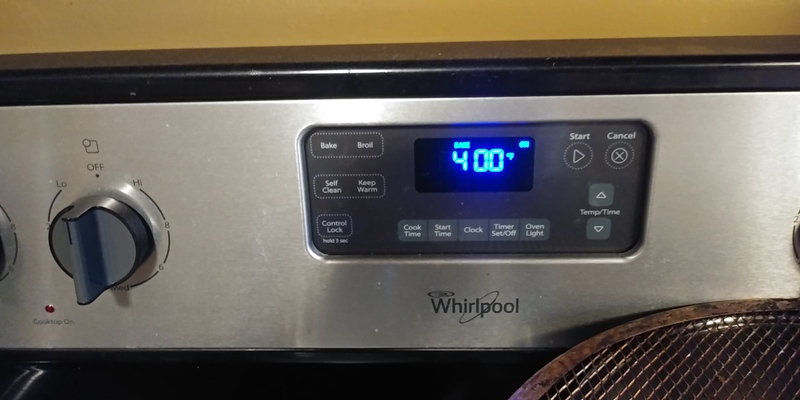
17:55:47 - A good time to preheat the oven to 400F/200C.
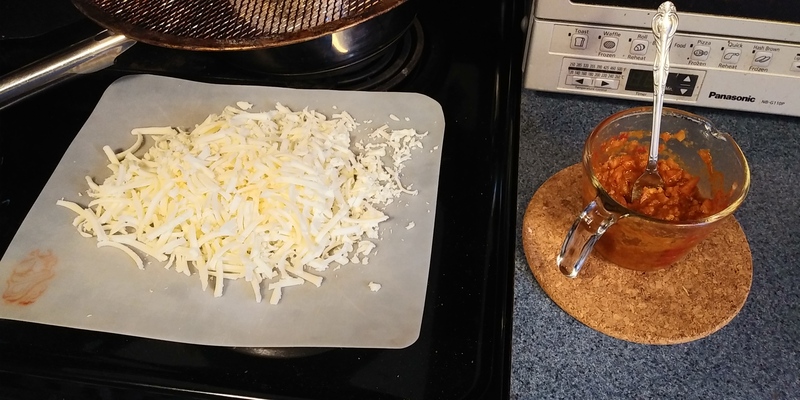
17:57:55 - Let the warm sauce cool off a bit while you work on the next phase.
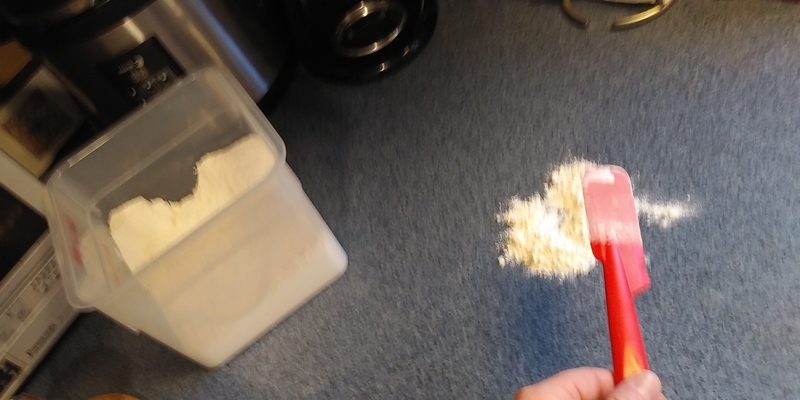
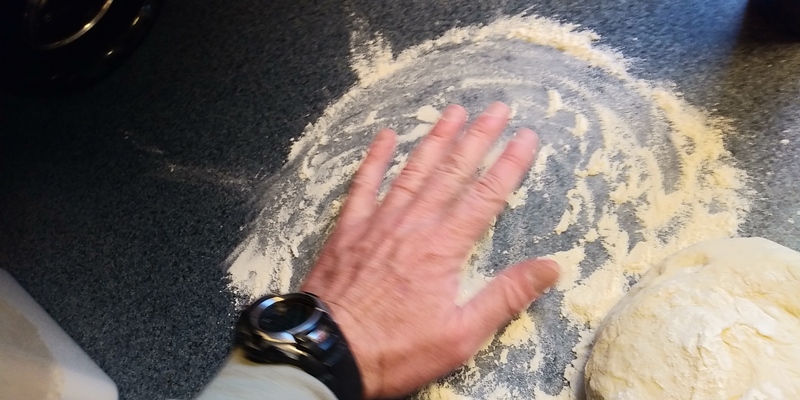
17:58:42 - Put some flour down. I used this much as shown and it was the perfect amount.
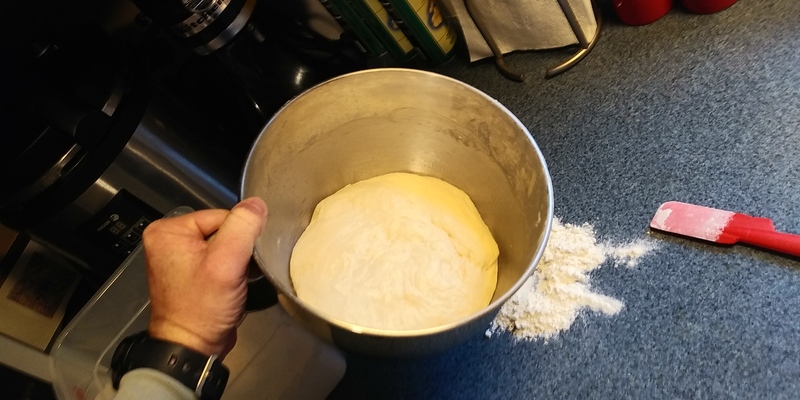
17:58:58 - Time to tip out the dough.
17:59:21 - Scrape the dough from the sides until you can get it to drop out onto the flour in one complete blob.
17:59:49
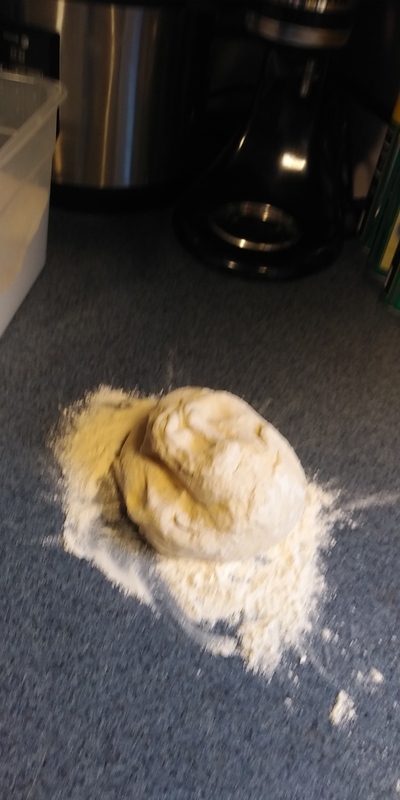
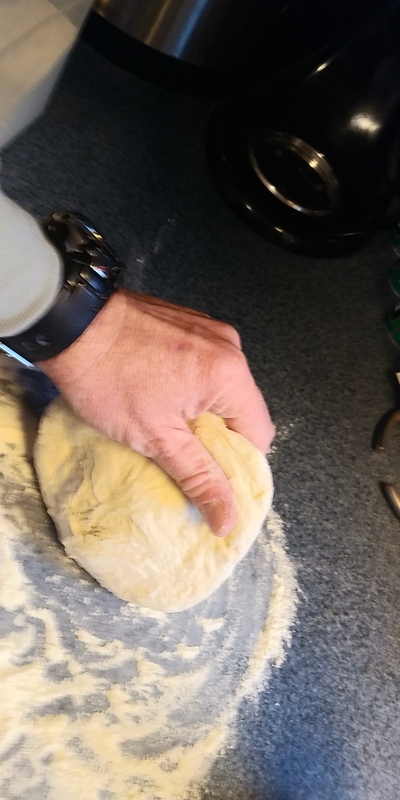
18:00:12 - Start working it by pulling the sides outward, upward, and into the middle. Just do that for a while.
18:00:16 - This is what the other side looks like — kind of smooth.
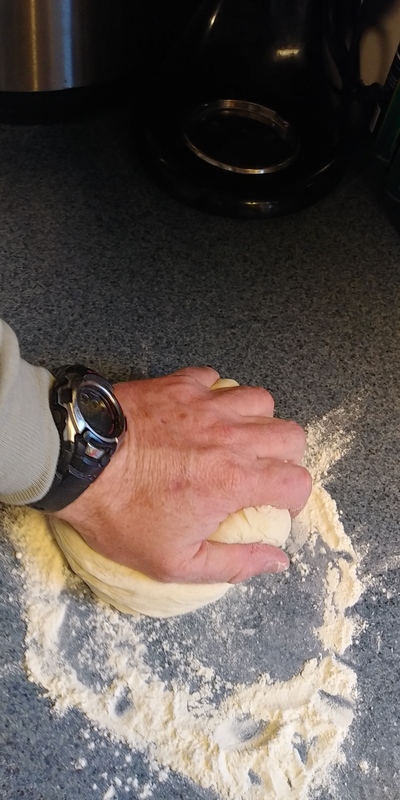
18:00:36 - Genrally knead it.
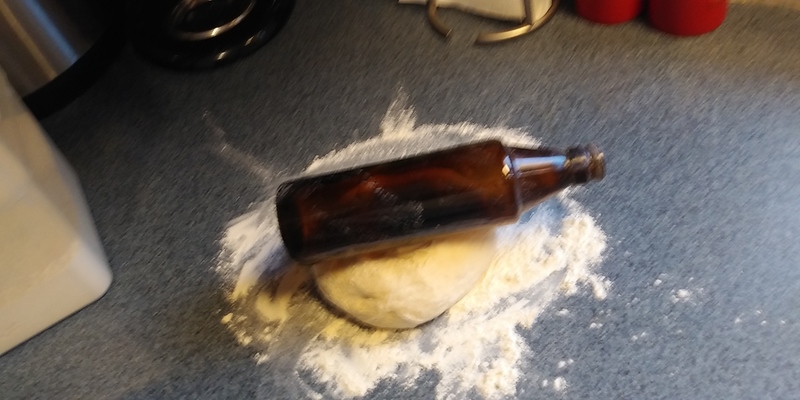
18:01:39 - It’s not really time to do the rolling yet, but I’m showing the equipment. I use this bottle to roll out dough and pastry. I’ve had it since picking it up at my son’s grandparent’s house at his 3rd (?) birthday party. I prefer it to all other rolling pins I’ve tried.
18:01:54
18:02:00
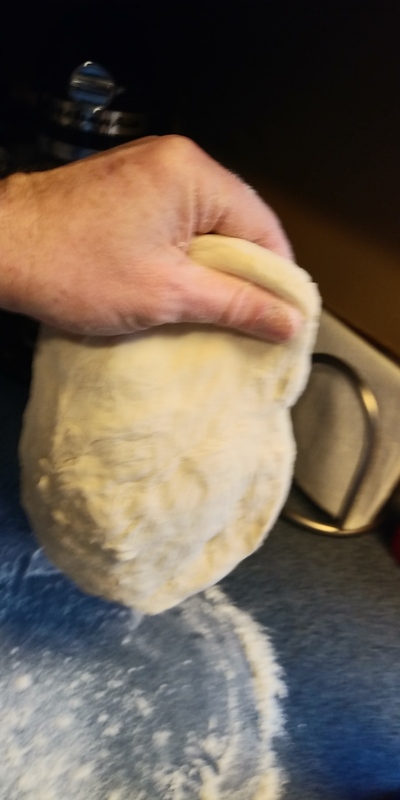
18:02:48 - A very important technique here is simply holding the dough by the edge and letting gravity gently stretch it.
18:03:37 - Normally I’d be using two hands and if you go around the edge quickly you can get the dough stretched out pretty well.
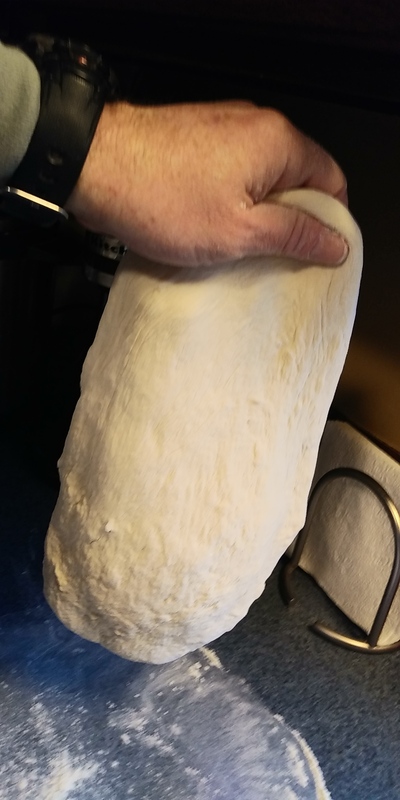
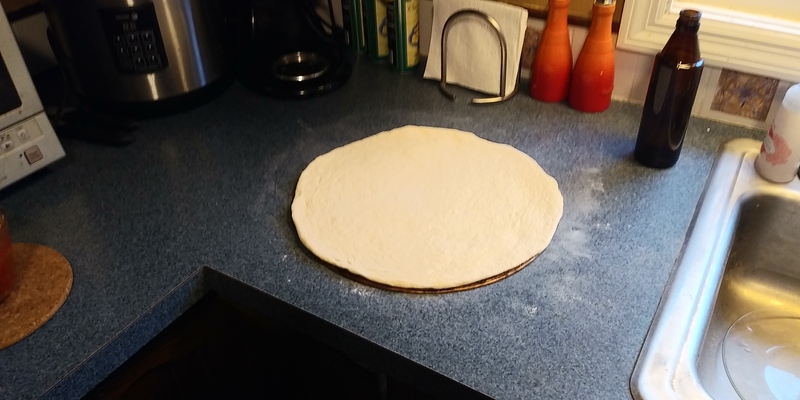
18:05:47 - When the dough is about this size I will alternate rolling and hang-stretching as described.
18:06:57 - Letting its own weight pull it to size. This is where adventurous pizza-smiths will be throwing it in the air. I think that introduces unnecessary risk and is not particularlly effective. Oh I’ve tried it!
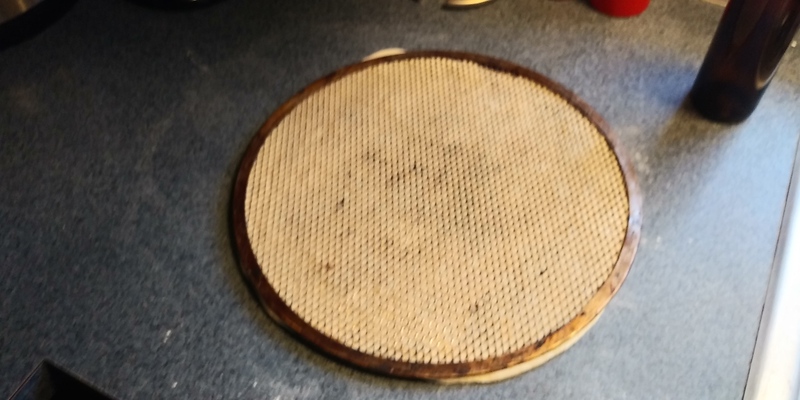
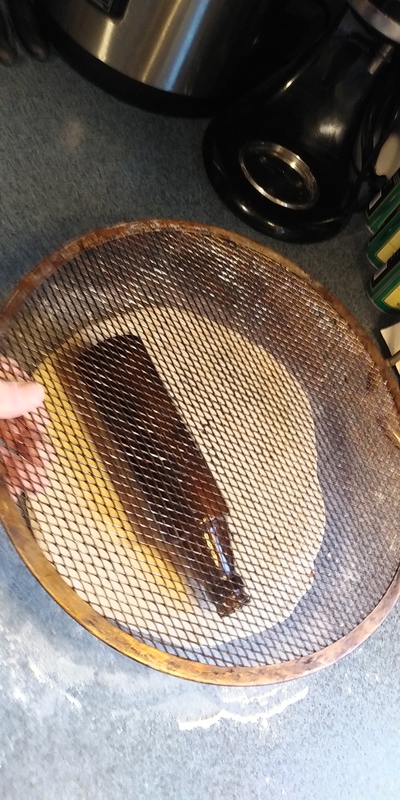
18:08:07 - Finally it should be perfectly sized for your rack. I use this wire rack which is only $6.44. The one in this photo is 9 years old. I think they work great!
18:08:25 - Obviously the pizza goes on top.
18:09:07 - Start spreading out the sauce. Make sure it’s not blazing hot at this point. It can be warm and that’s even helpful but if it would be uncomfortable to eat, that’s too hot.
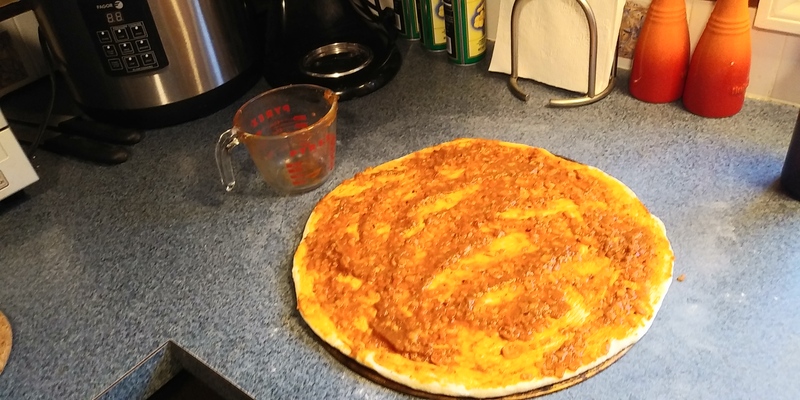
18:10:17 - This is about what kind of coverage you can expect.
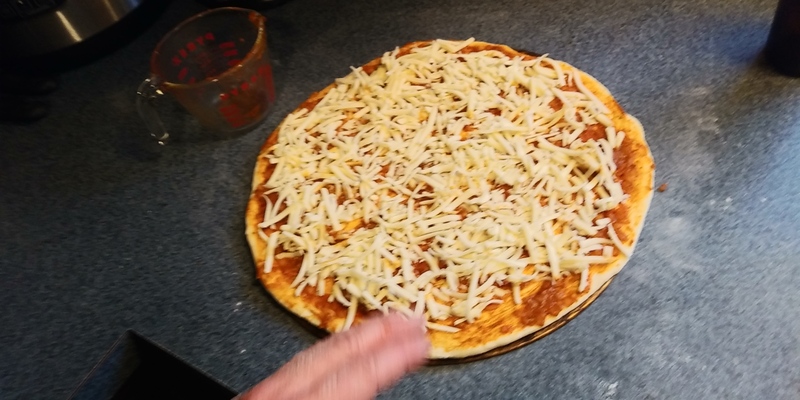
18:10:53 - Here is what the cheese looks like. It may seem sparse at this point but if you evenly distribute it, it will be just right.
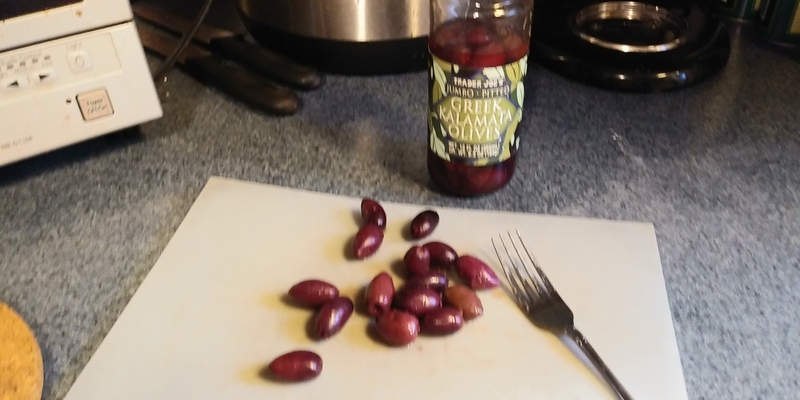
18:11:50 - It might be smart to get any toppings prepared ahead of time. It was easy enough for me to cut 15 olives real quick.
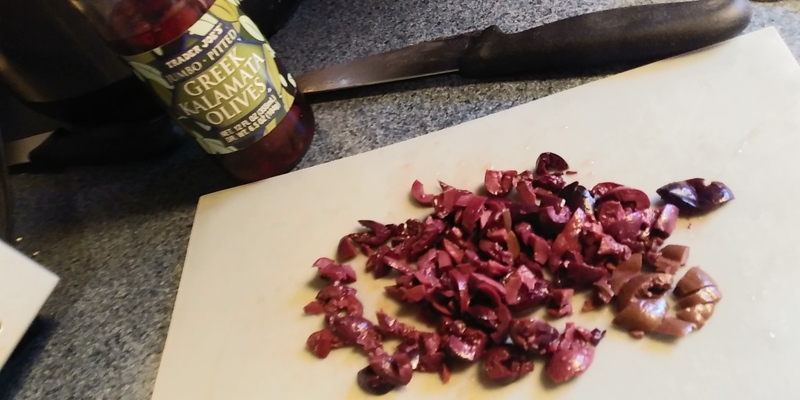
18:12:37 - Again, I like fine cuts so some thermally overloaded mass doesn’t burn me.

18:13:32 - And it’s ready to bake!
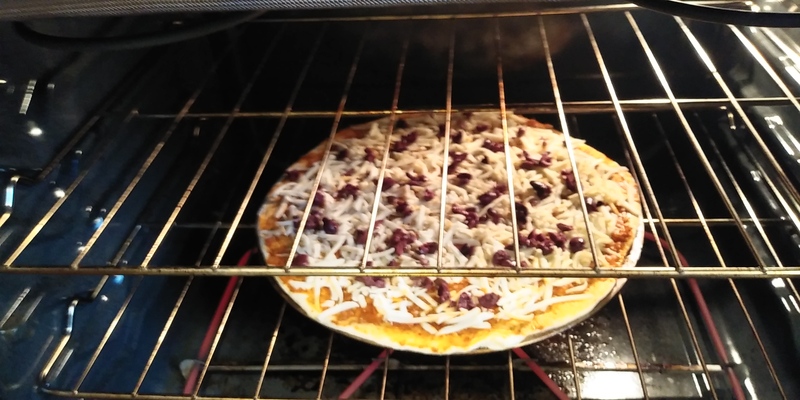
18:13:47 - Why this rack in the oven? Well this oven is crap and I don’t think it would matter too much. Experiment though and if you have a convection oven like a civilized person, definitely use that.
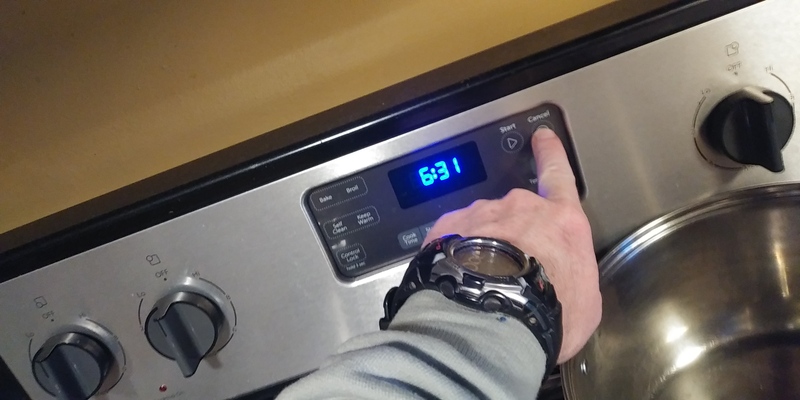
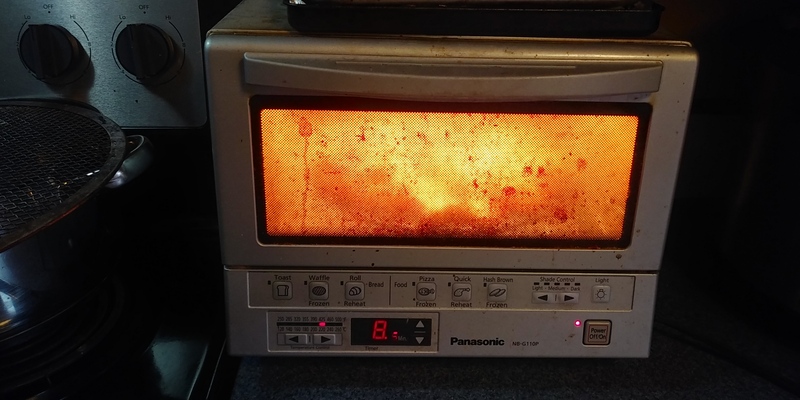
18:14:05 - I put a timer on for 18 minutes. Don’t trust that though. If you don’t know exactly how long this takes in your oven set it for 10 minutes and watch it from there.
18:18:38 - Note that I’ve already cleaned up everything.
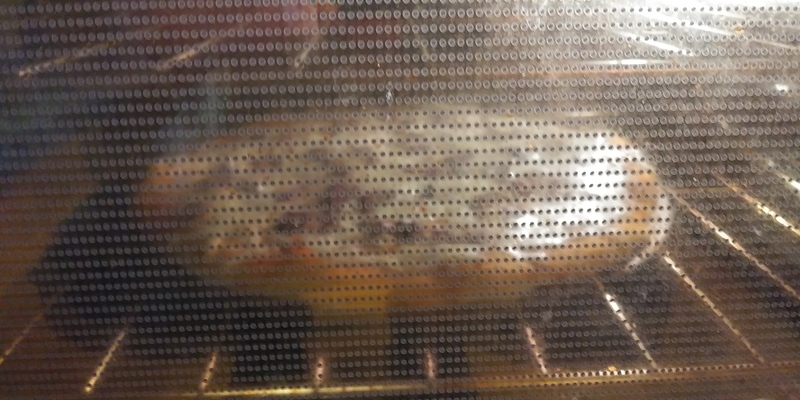
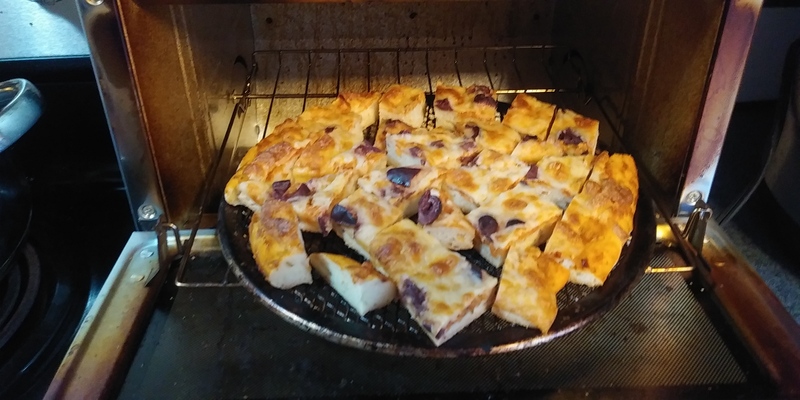
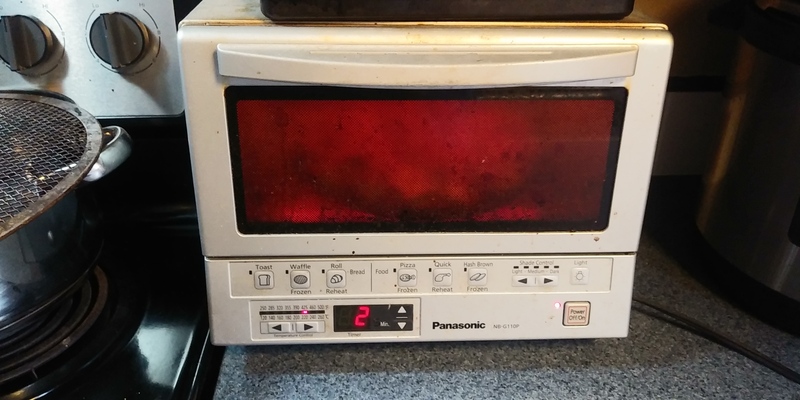
18:19:37 - Cooking!
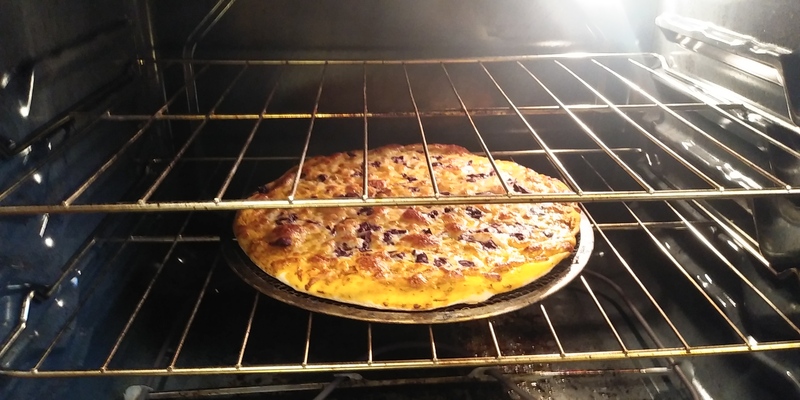
18:31:00 - And finished.
18:31:11 - Do not forget to turn off the oven.

18:31:21 - So this is 17min and 18seconds and I was ready to take it out.
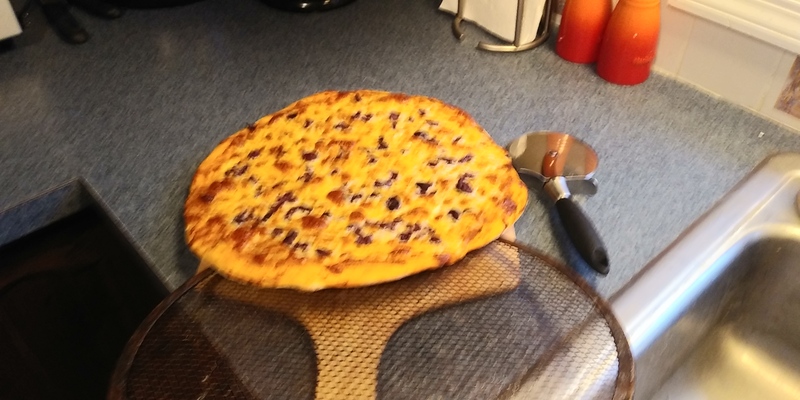
18:31:43 - With some pizza pans you can get sticking. This was always a problem when I tried using pizza stones. But these wire racks work great. Just slide it off onto a "pizza peel" or cutting board.
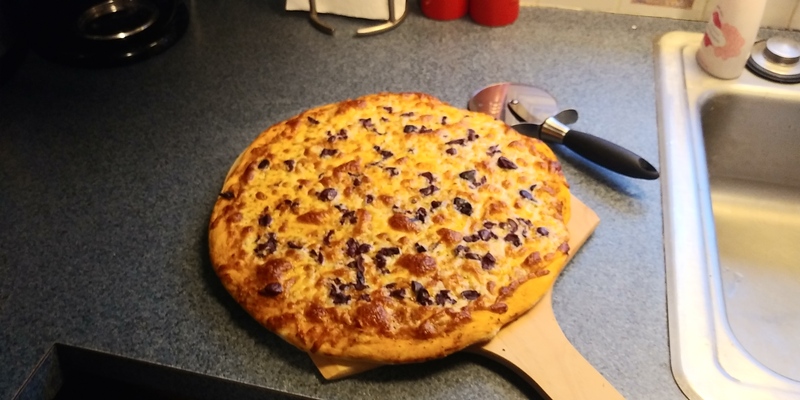
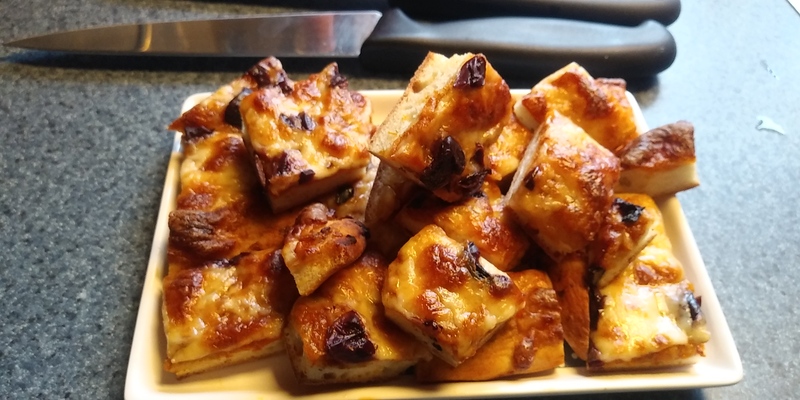
18:31:51 - Looks good! Let it cool a bit though before cutting it.
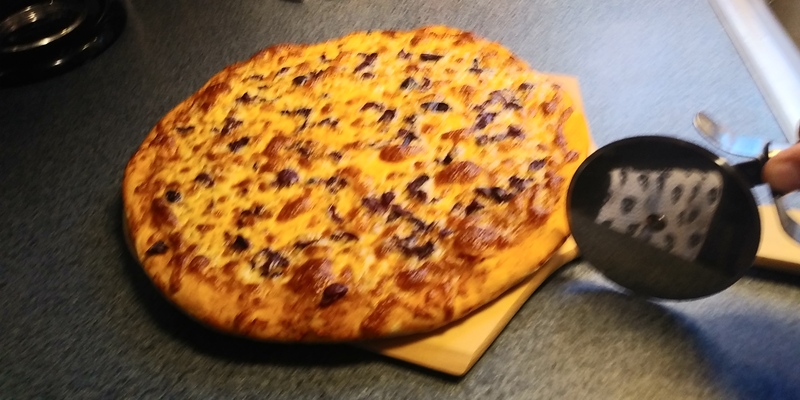
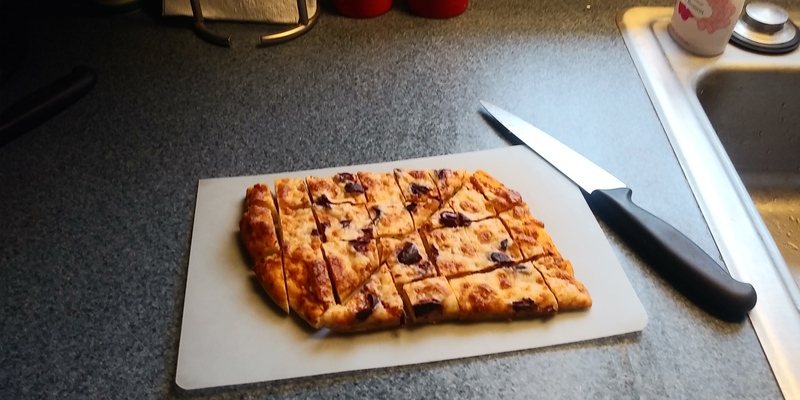
18:40:16 - Time to cut it. I could have let it cool only 5 min or so.
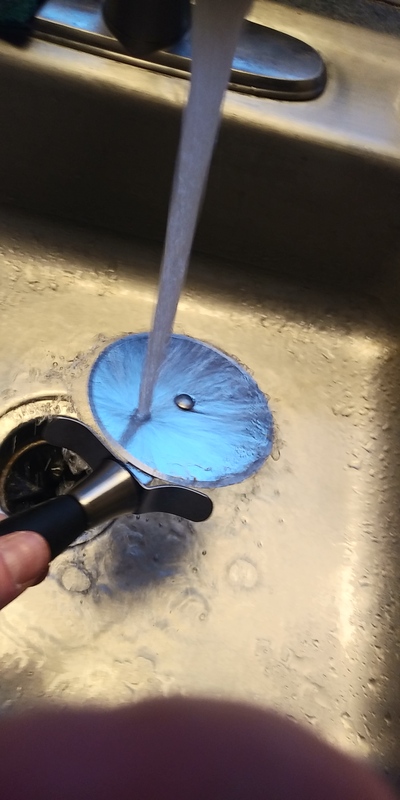
18:41:02 - If you wash this cutter immediately it cleans up with no effort at all. If you leave it for a while, it can be a tenacious mess and quite awkward to clean.
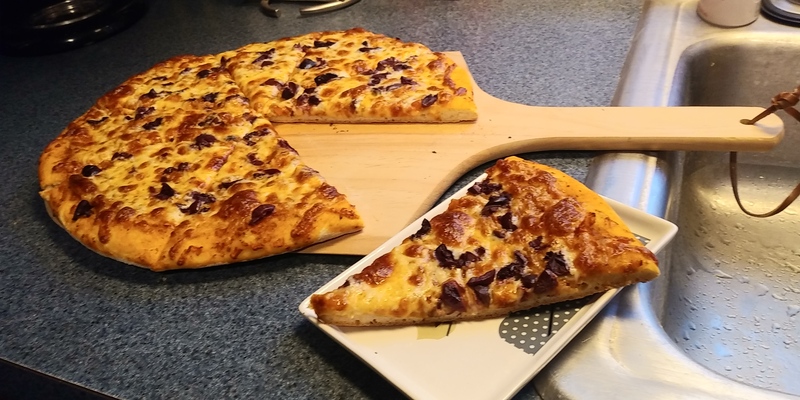
18:41:46 - Enjoy!
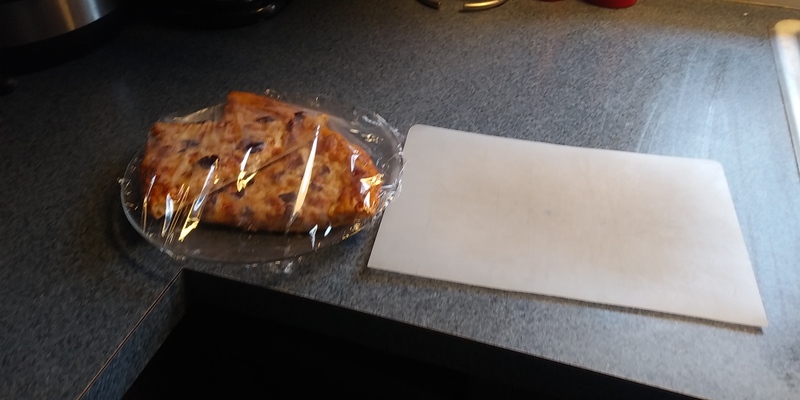
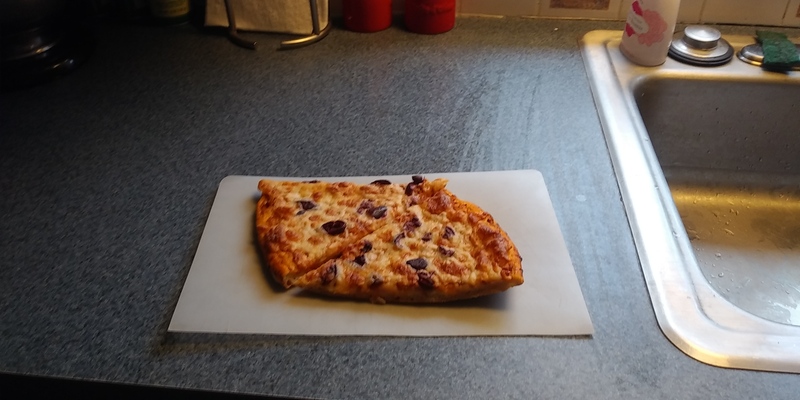
Bonus
Leftovers the next day!
17:24:01
17:24:40
17:25:37
17:26:51
17:27:21
17:33:54
17:36:23