In early spring of 2011 I found some guitar patch cables on Craigslist and when I went to the guy’s house to buy them, he asked if I was interested in a genuine Fender NIB chrome pick guard for a Telecaster. Although I didn’t have a Telecaster, I was completely bedazzled by this awesome trinket and, since it was quite cheap, I bought it. What was I thinking?!
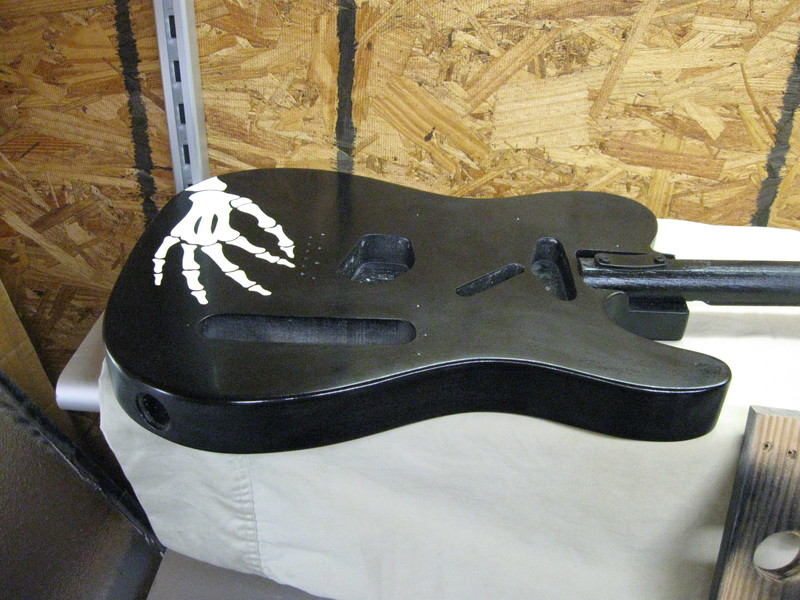
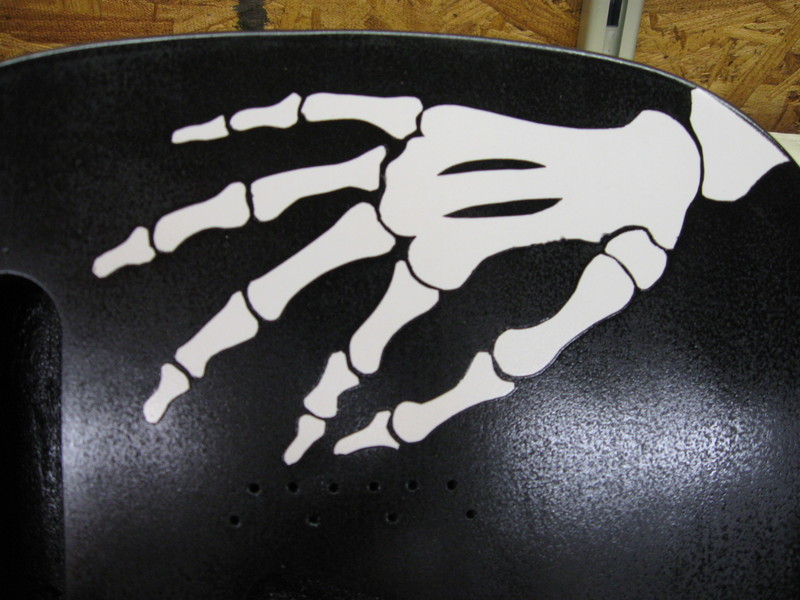
Having this pick guard got me thinking about what kind of design I might like. Pretty quickly, I came up with this memento mori theme. The number of strings is a hint about which famous Telecaster player I was keeping in mind (no, not John5 but I do like his guitar obviously).

I guess I now needed a Telecaster. I had wanted to build my own guitar and felt that this might be the opportunity I was looking for. I ordered a Grizzly H8068 kit.

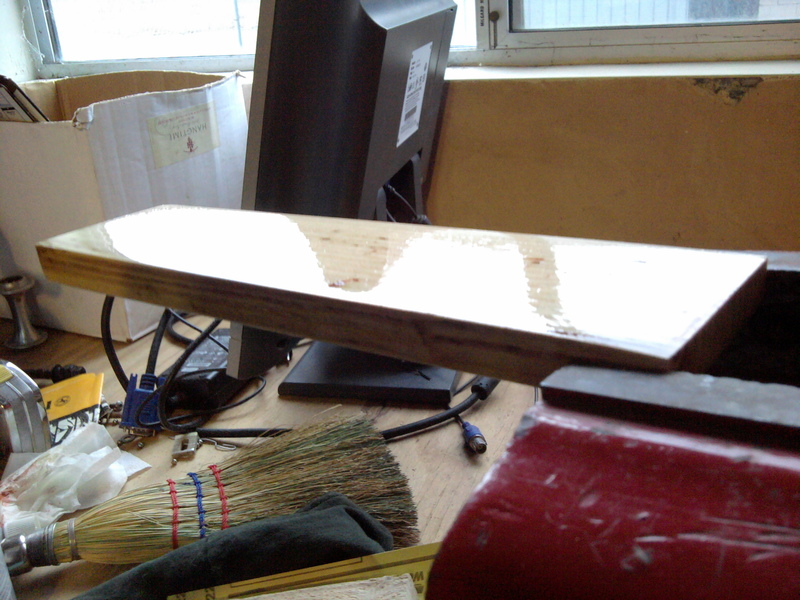
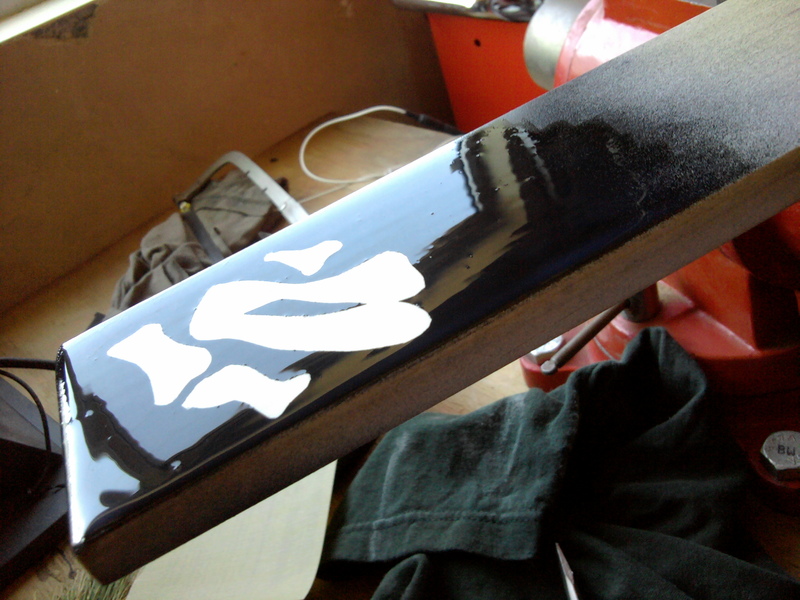
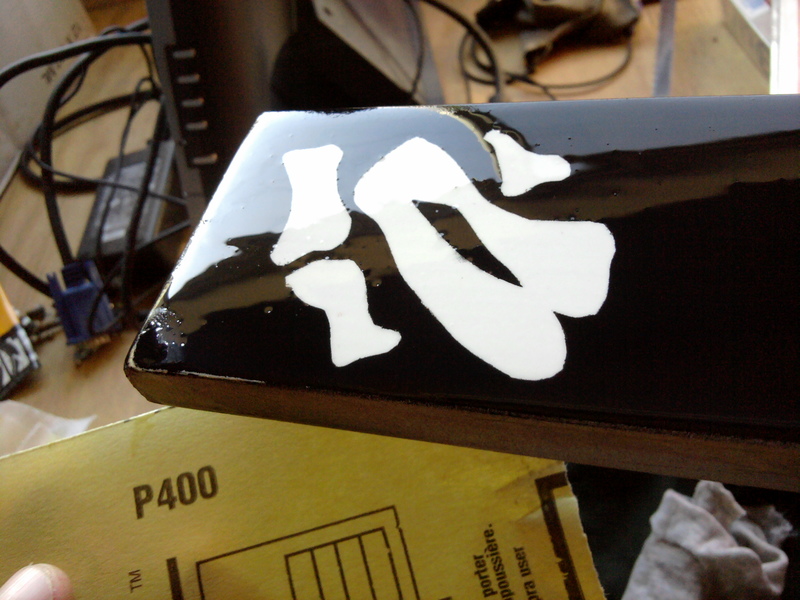
The first thing I wanted to do was to test to see if I even had the capabilities to create a high quality finish which included artwork. It turns out that this was a very prescient idea as this was by far the biggest challenge. I felt confident because my test piece was not especially difficult and I felt that it came out well. Here is the process I used to do the test piece which is the same as what I did with the guitar body itself.
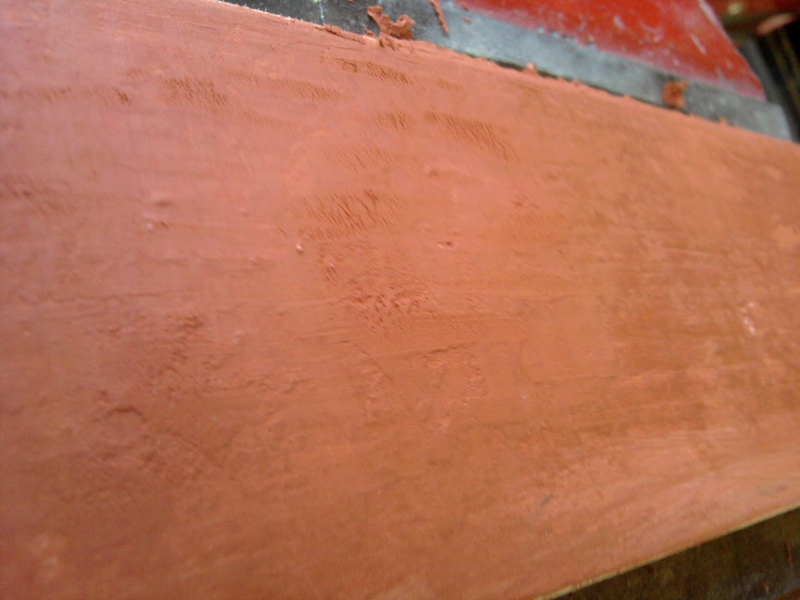
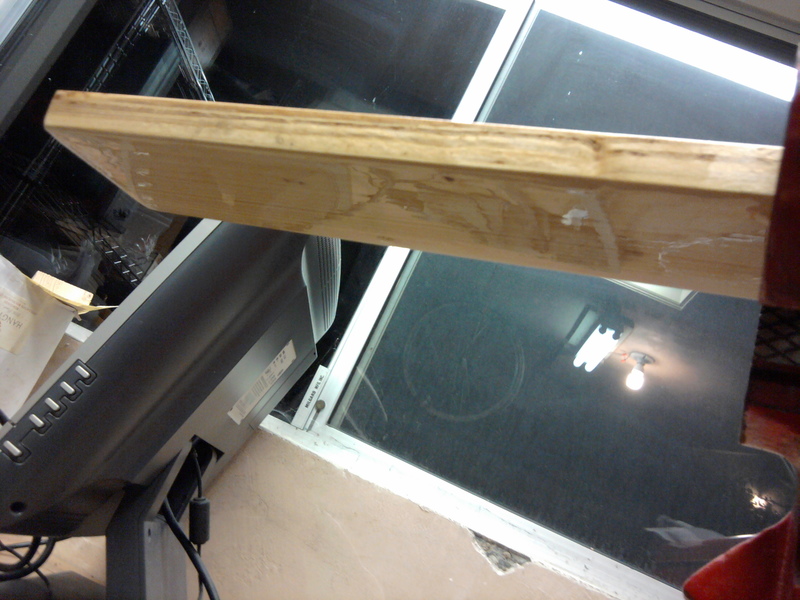
First there was sanding down the rough surface. I used a piece of an old pallet for a test. You can see its original condition on the back of the vise. Then some grain filler.

The grain filler needs to really completely fill.
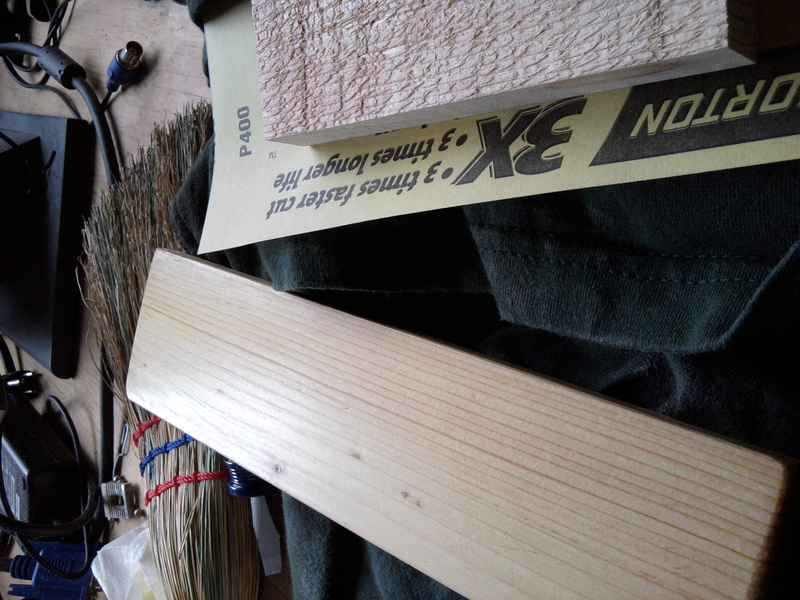
Then the sanding. Starting here at 150 as shown to get the excess filler off.
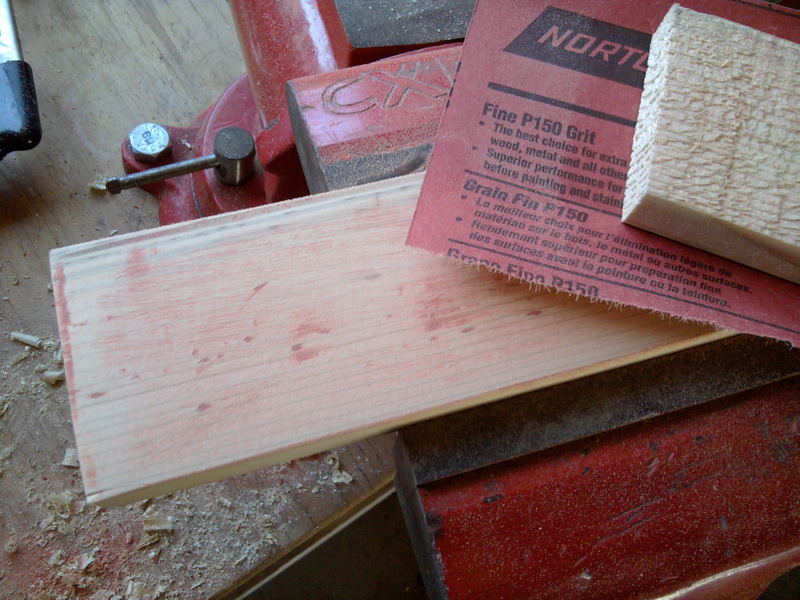
Working up to a smooth finish.

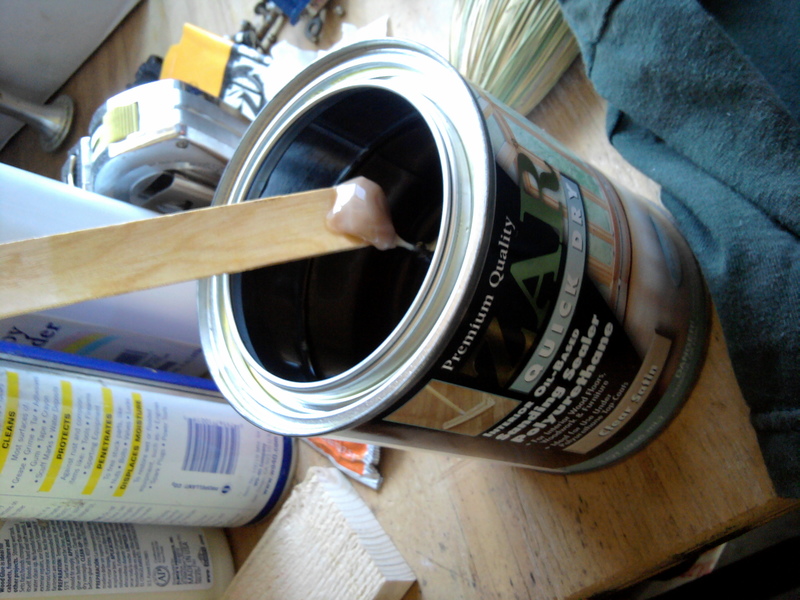
Next on my test piece I used sanding sealer. I think this stuff did a pretty good job. Eventually, I went with Timbermate natural but it might have been smart to use Timbermate as the filler and this polyurethane sealer which came out pretty smooth.
A couple of coats of this seemed good.
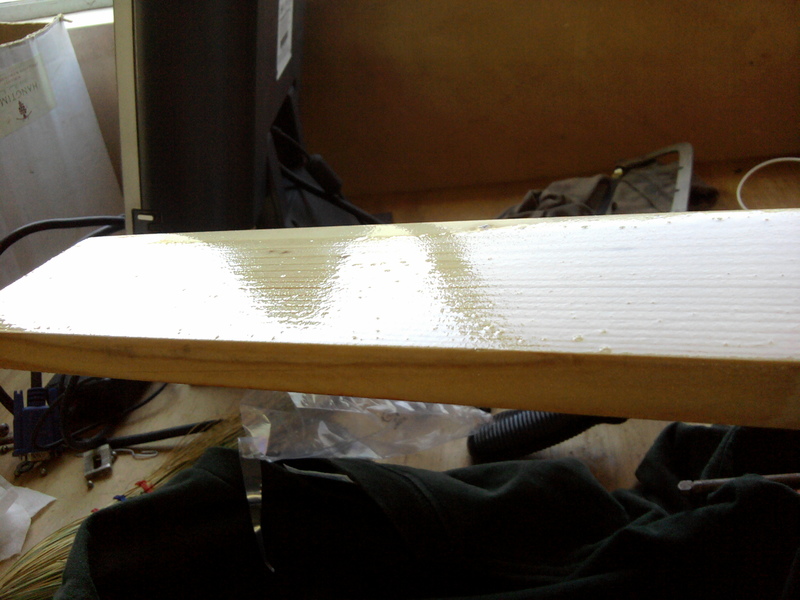
It’s already looking pretty slick even without the final layers.

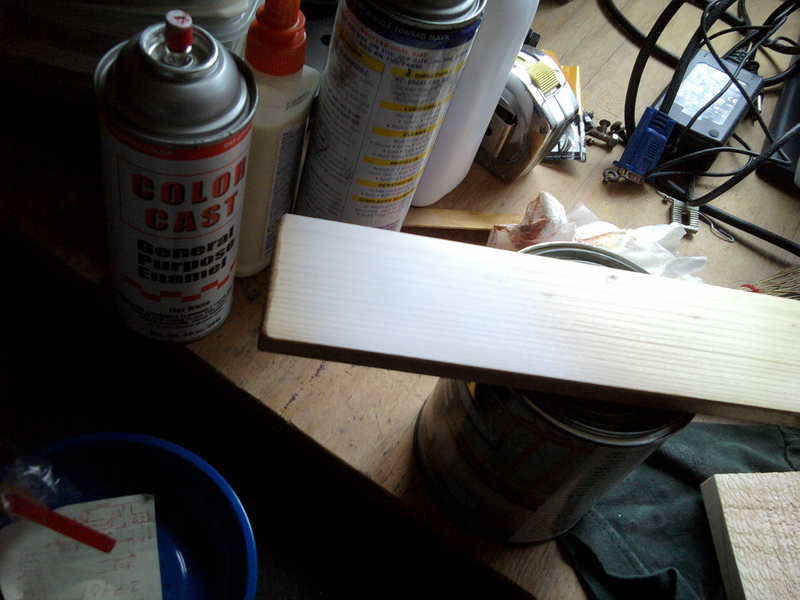
For the first color coat, I used this can of ordinary white spray paint.
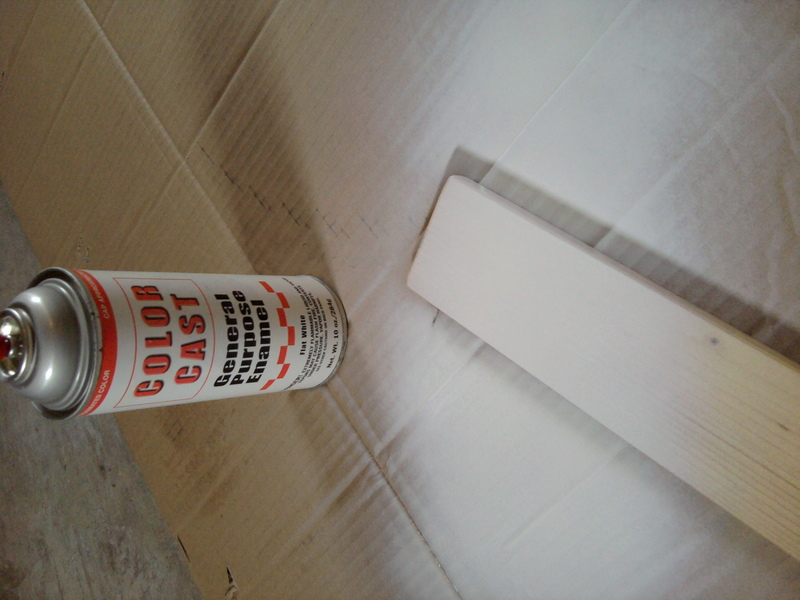
It took about 3 coats until I felt confident that the white was 100% thorough.

Next came the black. Here I used some Rustoleum Professional (silver can) spray paint.
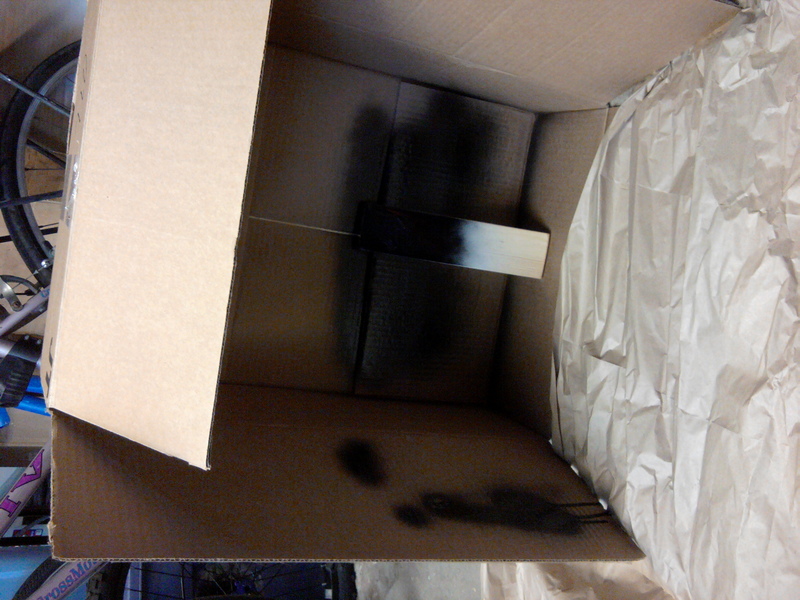
The masking is visible here. It is masked simply with masking tape. The tape was laid out in strips on a piece of plastic and the shapes were printed onto a piece of paper and cut out. Laying the paper templates on the tape, I could cut out the masks from the tape. It almost seems like this won’t work. But it does. You can use proper airbrush frisket but I think masking tape does a better job when you don’t need to do a lot of layered subtraction, i.e. one clear mask.


Many coats of black too. I don’t know exactly how many but I think I went with 3.

Removing the masks.

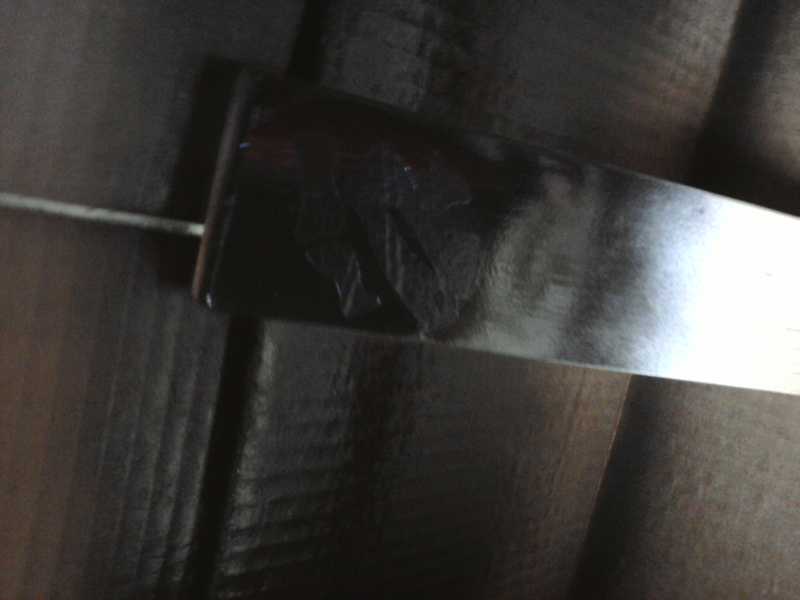
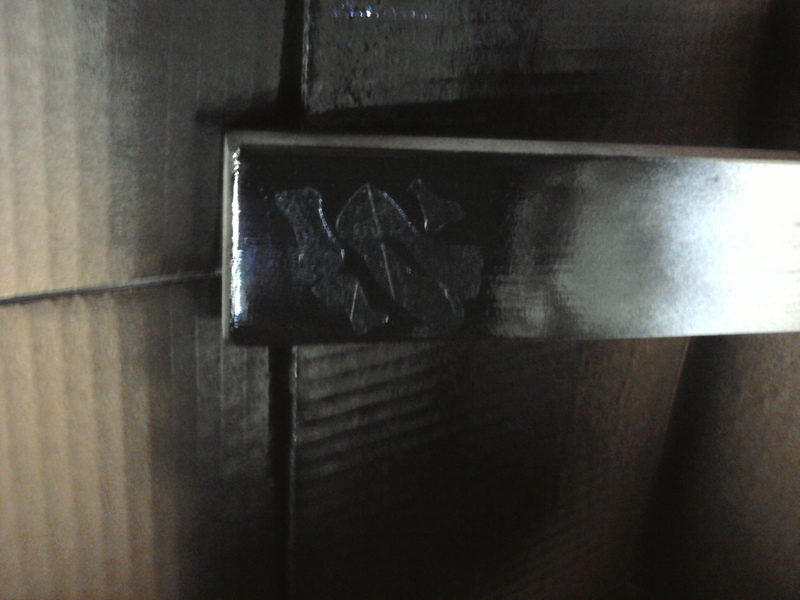
Next I painted a topcoat of polyurethane varnish (I think). It actually looks pretty good. This might be a pretty good option. Ultimately I didn’t go with this varnish.
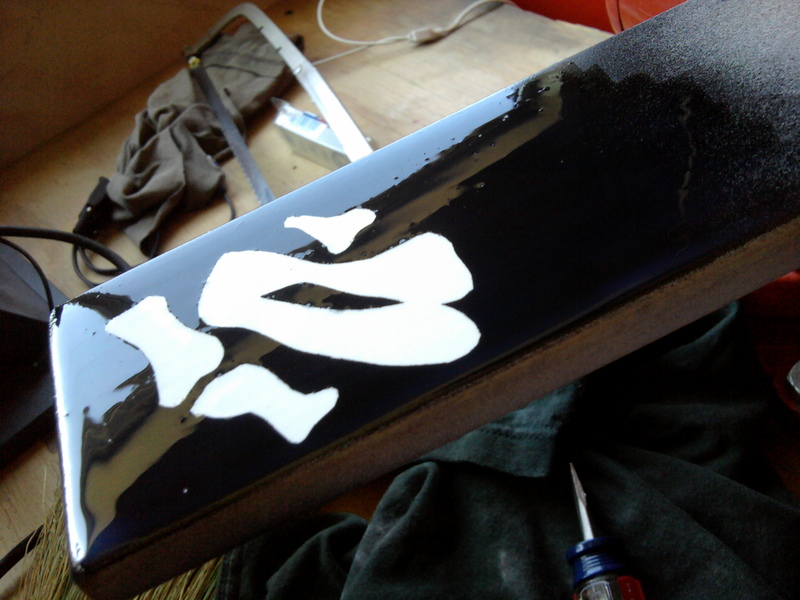

Here it is three years later. Held up pretty well.

The test piece was completed while I waited for the guitar kit to arrive. There was a delay of months! I was close to canceling my order but they said it was on the way. While the kit was theoretically on the way, I actually moved from a house with a (non-shared) garage and a back yard, to an apartment. This was pretty annoying since it meant I would have a very limited environment to work on this thing.
Once the kit arrived, the first thing I knew needed to happen was that the head stock had to be fixed. If you look at its shape in the kit photo, you can see that it’s rather blank, like a canoe paddle. Thanks to the magic of the internet, I was able to make an amalgamation of proper Telecaster headstock shapes (yes, they’re different in different eras). Here’s what that looks like in glorious SVG.
Cutting this out of the blank headstock was one of the relatively easy parts of this whole thing.
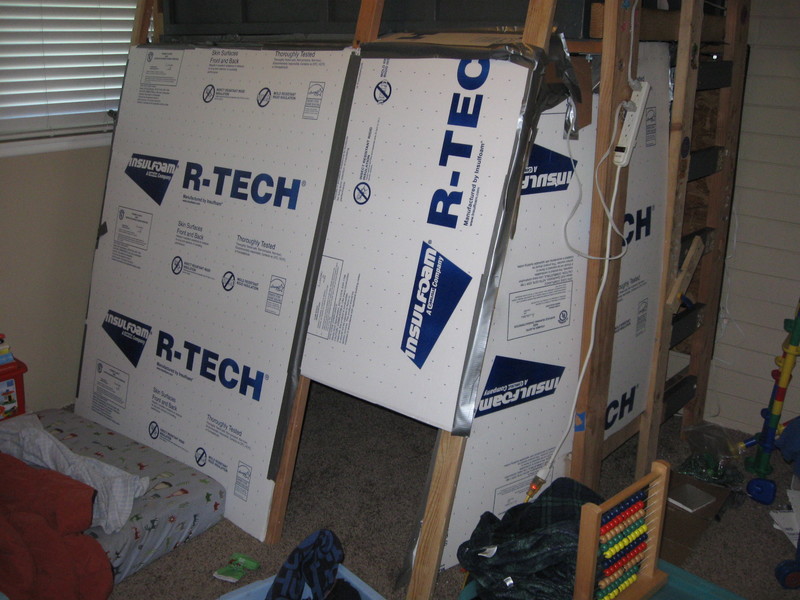
The next thing I did was rather crazy. I built a paint booth in my son’s bedroom. Yes. I committed this act. Good times for all involved. The hole at the bottom was where a fan pushed filtered air out of the window in the upper left. There are lights in there and a custom stand for the guitar.
I mounted the guitar to a piece of closet rod which I cut half off of at the end. This worked extremely well. You can see the blue masking tape in the neck pocket.

I could put it in this stand and turn it freely but also lock it in place. Very useful.

I did basically the exact same process shown with the test piece to get the basic paint layer down.


After I sprayed all the paint coats, I bought a can of Behlen nitrocellulose lacquer. This stuff is nasty and can blow up buildings so I did this on my balcony after building yet another paint booth out there. This was a huge pain and it was not the easiest set up to work with. I wanted to put a lot of thin coats of this product on. But after about the third coat, the spray can suddenly just spurted out a jet of liquid, unatomized product. Not only that, but it was filled with bubbles and left a big bubbly streak on the back. After making such great progress, this was pretty disappointing.
I ended up sanding it as best as I could but it was a big job to carefully remove this junk without getting into the color.
This set back caused me to pretty much drop the project for about a year. After thinking about it for a long time and needing a guitar more and more, I started researching and came upon videos like these:
I bought some Deft brushing lacquer. I set about the hard work of finally ridding the project of the terrible stuff that I’d sprayed on. I did some tests on a new test block. Seemed plausible.
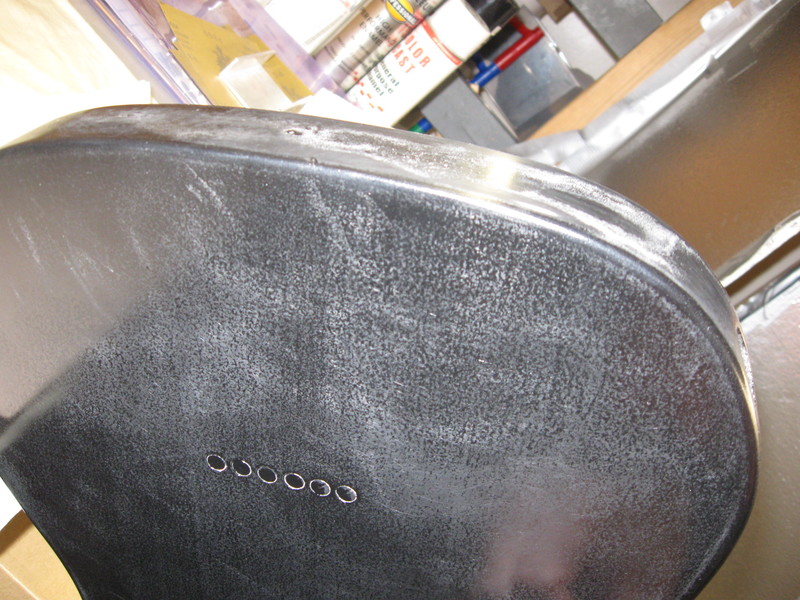
I was able to put about 8 coats on in about a day. The depth of the finish looked great. I had two small problems while finishing. Once while it was drying a bubble somehow formed from air in one of the pilot holes for the pick guard screws. It was about 15mm in diameter and when I popped it after it had been almost cured hard, it left a ring (directly above the bridge pick up). And on the final coat, there was a brush bristle embedded in the back. I picked it out with tweezers thinking it would sand off since it was on the last coat. But no, it was tenacious and left two round divots in the final finish. I figured it looked no worse than just normal wear on a guitar after a couple of years and I’d already owned the thing 3 years by now.
After putting the clear coat on, I left it for six weeks to cure. Since the finish was very thick, I didn’t want to sand into a gummy core. I did final wet sanding with a progression of abrasive papers from 800, 1000, 1200, 1500, and finally on to 2000. I think I could have taken more off, but I was just going for acceptable, not factory perfect. I did have tons of product on so I should have been able to go down farther into it. But it looked fine even when there were still artifacts from the brush work. It just gives it a slightly wavy gloss instead of a perfect mirror. No one could possibly notice unless it was pointed out. The curse of finish work: the creator sees every flaw.
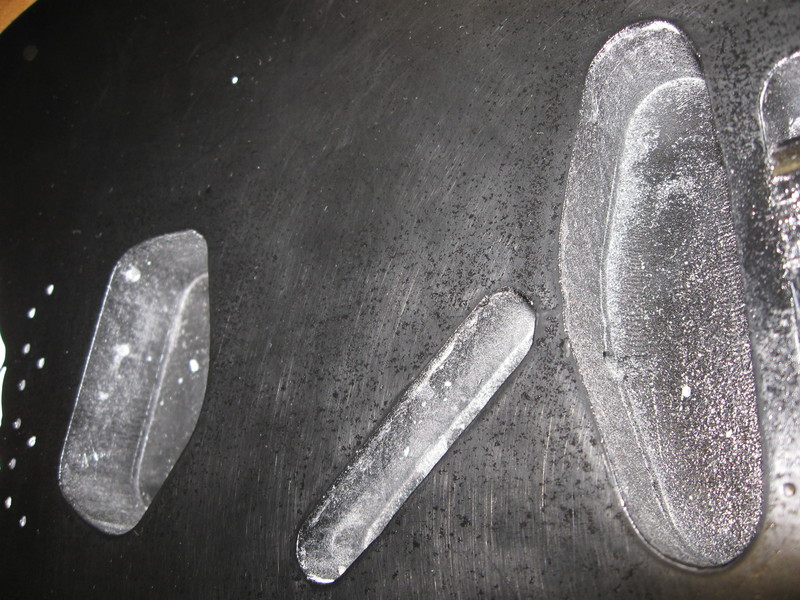
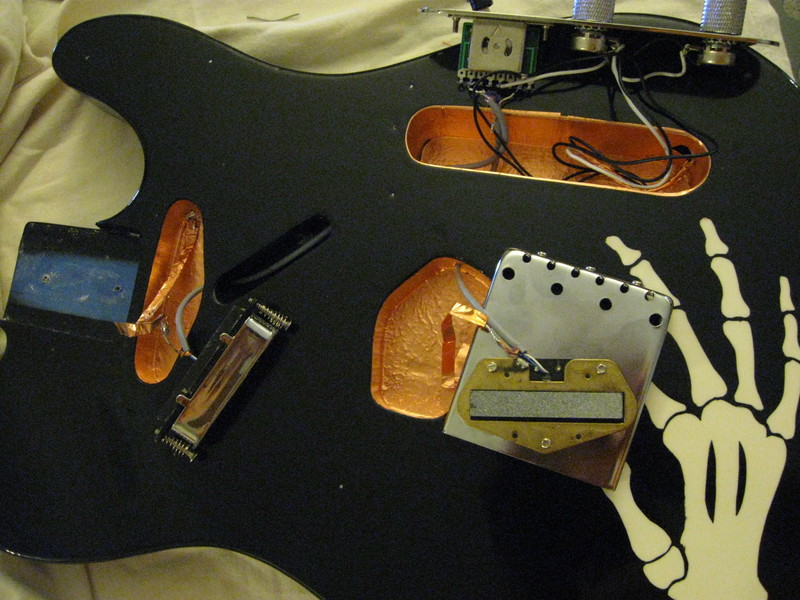
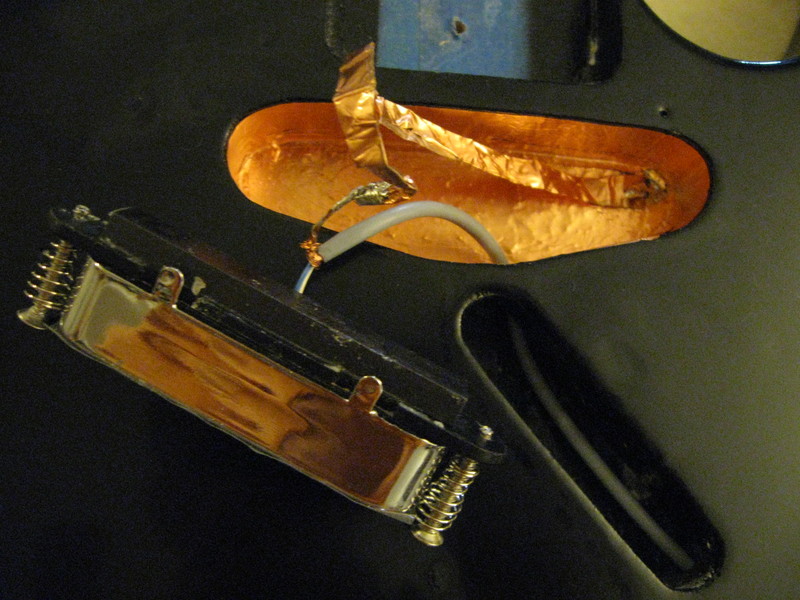
Once the body paint was done, it was finally time to make some real guitar progress. One of the ideas I had was inspired by a very crappy $25 guitar I got off Craigslist. It has terrible electrics and EMI noise problems. I wanted to minimize that to the greatest extent possible. I bought some copper foil and shielded wire. I replaced the pickup wires with the shielded one and pretty much shielded everything with copper foil. The chrome pick guard theoretically helps with the shielding too.


Once I had the body components sorted out I fitted everything together and despite being very wary of introducing any more paint work, I realized that I would hate myself if the head stock was not black. I decided to just do the front face of the headstock since that would suffice and should be as easy as possible.
I taped it all up, prepped it with some 800 paper and gave it 3 coats of that professional silver rattle can Rustoleum black. I just did this on the balcony with no special precautions (even gave my watch an unintended paint job). I did the three coats about 5 minutes apart. After the years that have gone into this project this was done in less than an hour. Whew!

I was amazed at how good it looked with no further treatment. I was totally satisfied.

I waited two days for that paint to dry and then did final assembly.

I had some trouble removing the plugs I used to cover the string holes in the back. They had been sealed in so well with the lacquer that I had to cut them with an X-acto knife and then poke them out with a bike spoke. While they are not flawless, they look fine in real life and the recessed style is much better than a raised style. I was looking at genuine Telecasters and I noticed that they weren’t immaculate either so I felt better about that.

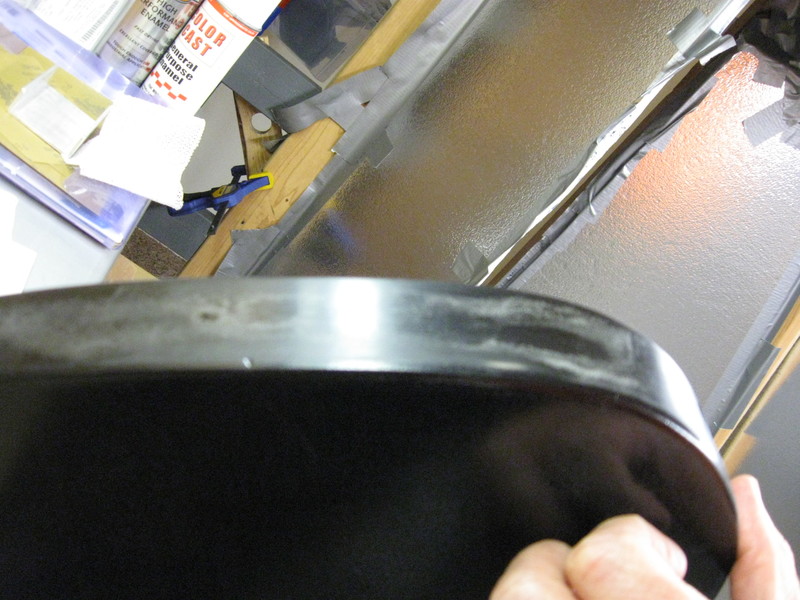
Looking at the back you can see that it’s very high gloss which accurately reflects, but if you look very carefully, you can see a kind of subtle waviness. You can see this in the reflection of the window sill (light colored diagonal lines pointing down to the right from the neck screw plate). This is an artifact of the brush application. I probably could have sanded that down some more, but I wasn’t into pushing my luck by this point. In real life with no prompting, this is almost impossible to detect.
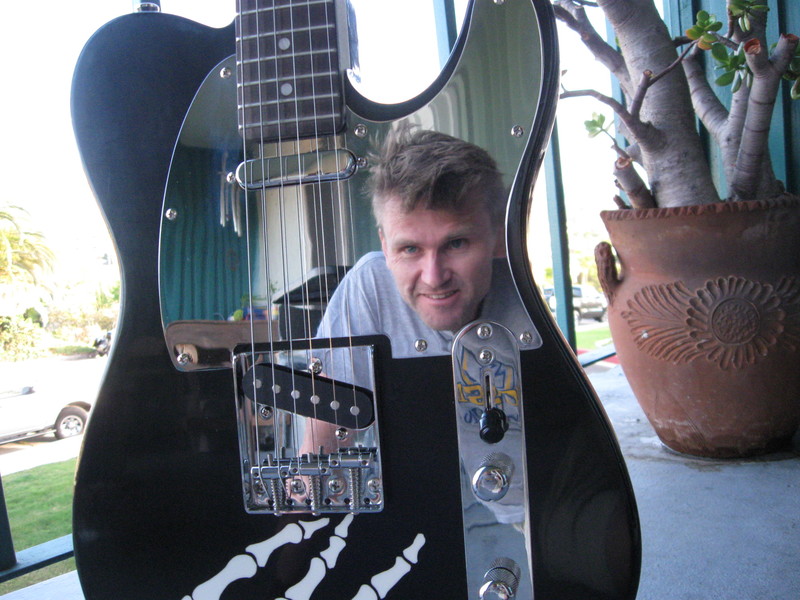
Overall it all came together nicely and it looks fantastic!
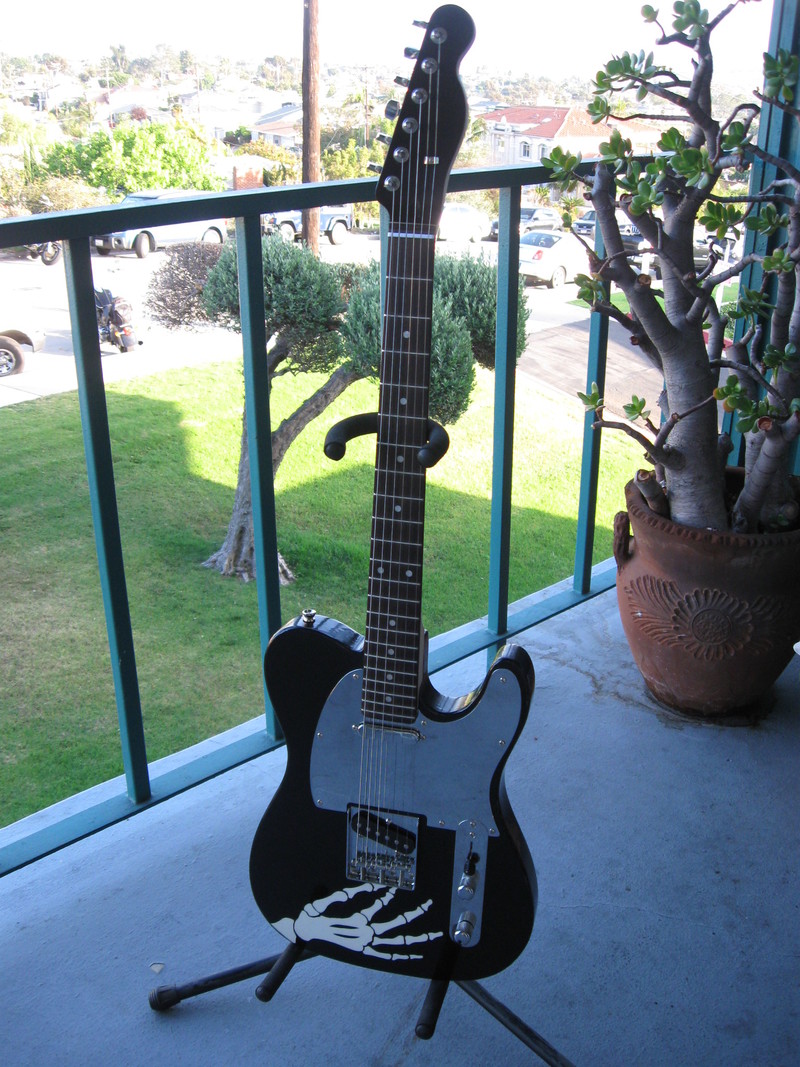
When I first assembled it I was pretty skeptical that it would sound or play well. It was really badly misaligned. But I got out my machinist tools and got serious about set up and by the time I was done, it is one of the smoothest finest guitars I’ve ever played. The noise shielding is great; for a single coil pick up instrument, the noise is really well contained. And the tone is great. It also stays in tune like a rock.
There were set backs and this was a hell of a challenge in my compromised work space, but in the end, I love this guitar!