The Most Costly Maple Syrup I've Ever Eaten
:date: 2025-03-24 17:32 :tags:
I love living in the forest. Ours is a beech-maple forest and while the weed-like beech trees can be annoying, there's a magical allure to maple trees. When not describing the trees themselves, the adjective maple is most commonly found ennobling the noun syrup.
It takes careful planning to obtain maple syrup from the wild and as we'll see, I just barely made the cut. My quest to extract something delicious out of my forest started last autumn, critically, before the leaves fell. It is then that you can walk through your forest and reliably find and identify maples. Not only that but there are red maples and sugar maples. The sugar maples are, as the name hints, the ones I was after.
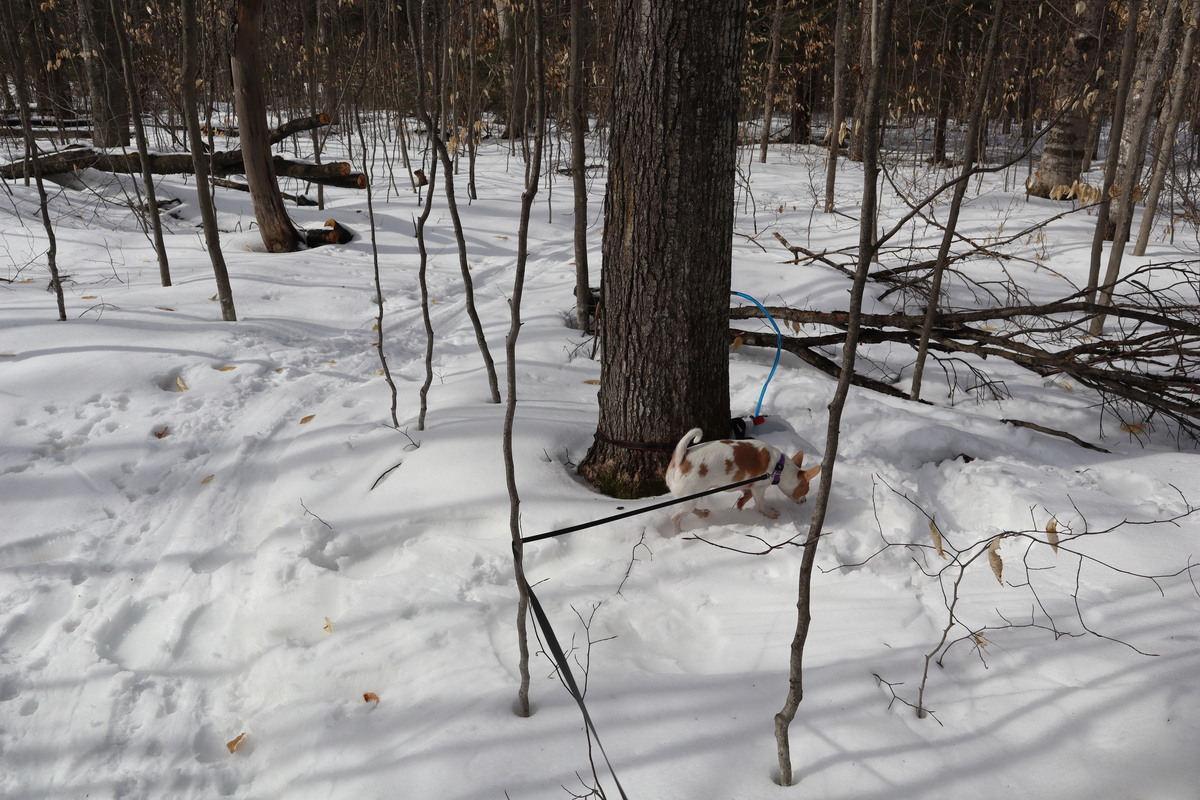
As the winter started winding down (n.b. it's still ongoing!) I looked for the trees I had marked in the fall and found five which were all within a few meters of my ski trail. Here are my trees. (And a fun game of spot the camouflaged dog!)
Justin.
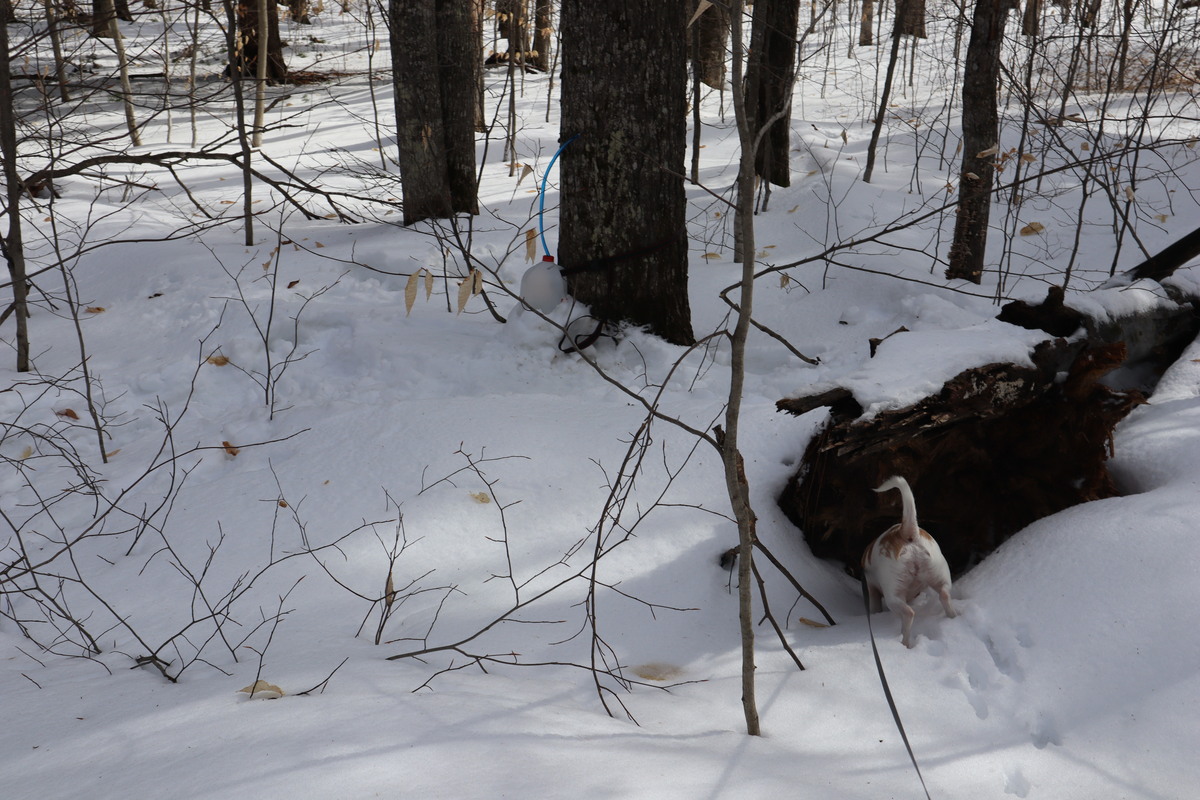
Celine.
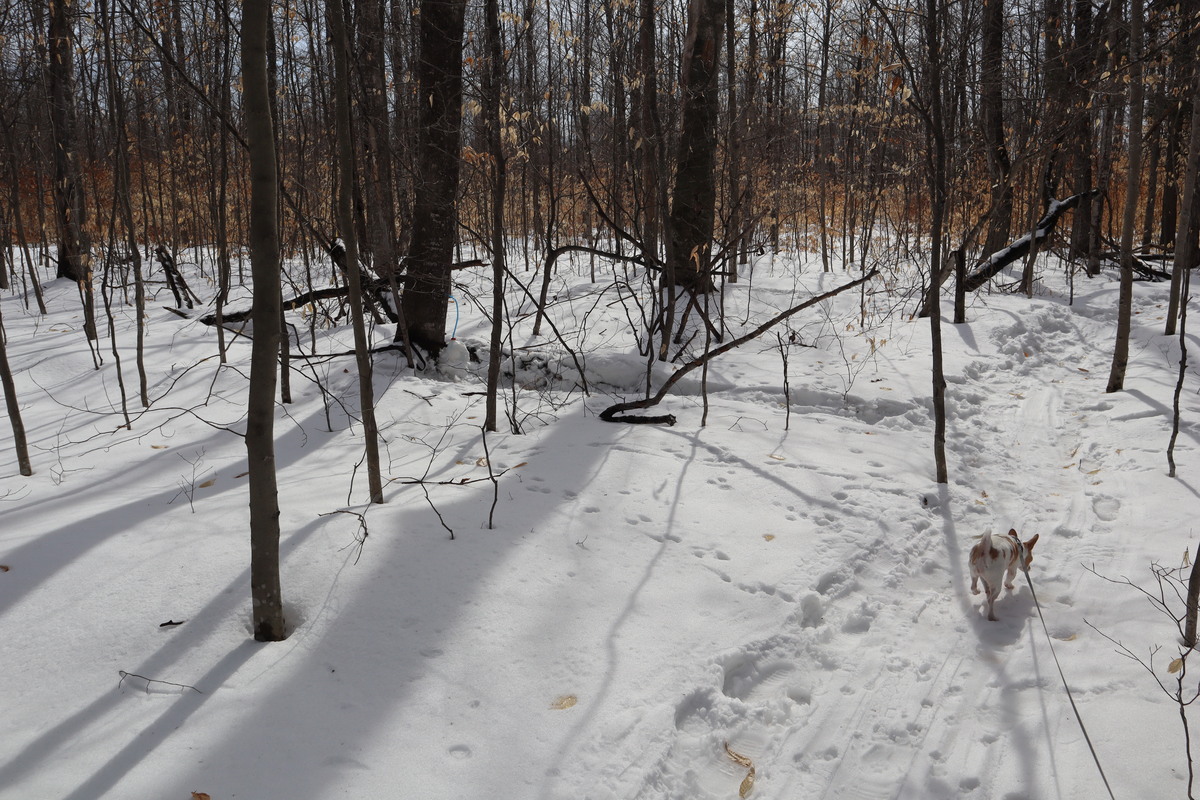
Wayne.
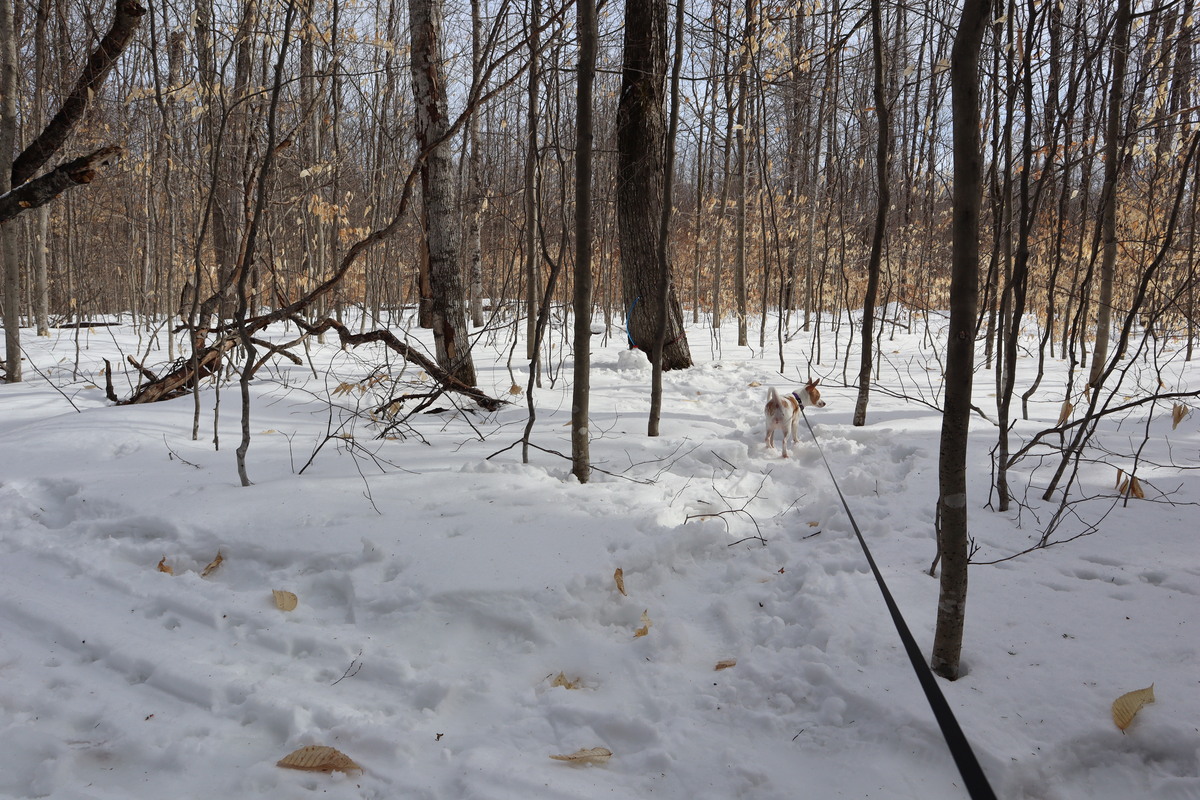
William Shatner, aka Bill.
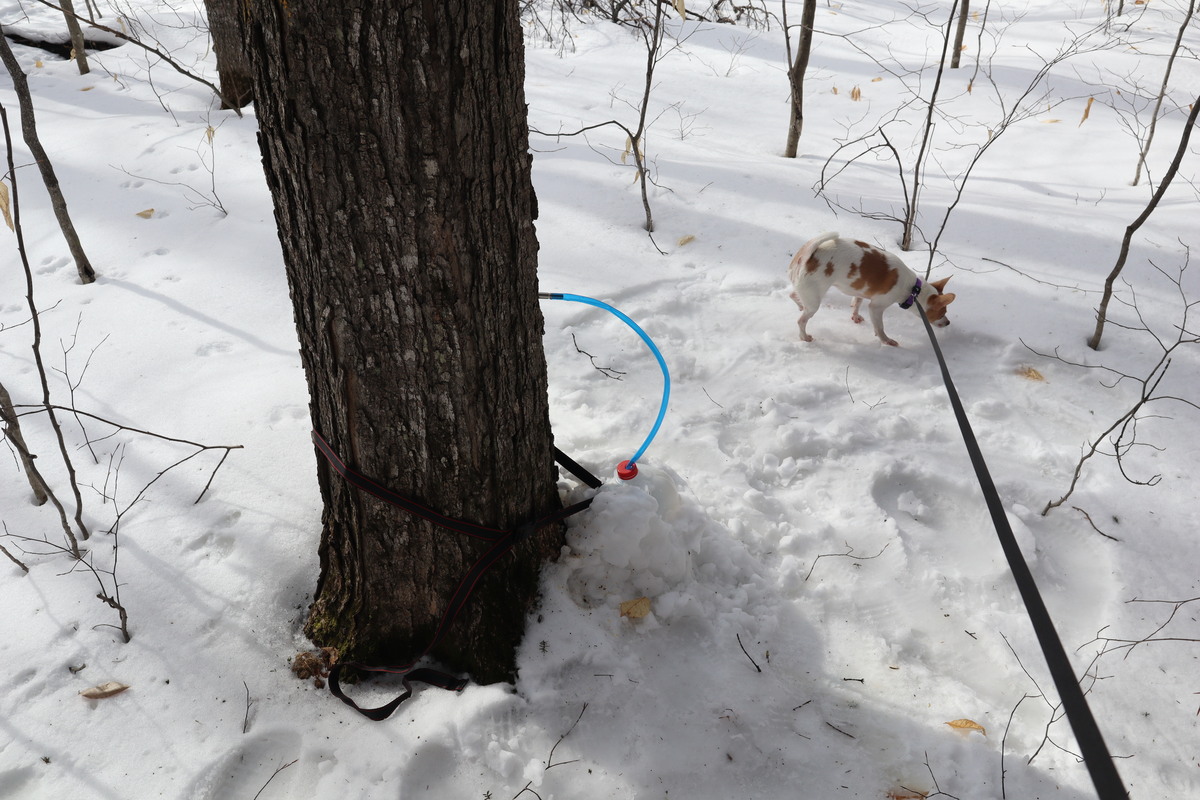
And Alanis.
The next thing to look for after you've found your trees is the weather. Specifically you're looking for daytime temperatures that are above freezing and night time temperatures that are below. We've been having really great maple harvesting weather for weeks now. Here's an example forecast showing a classic day that predicts good production.

Next you need to get the collection equipment installed. Here's a close-up of the collection setup on Alanis. A metal tube called a spile is jammed into a hole drilled in the maple tree about 2'-3' off the ground. It needs to angle down a bit to make sure things flow sensibly. Some people will hang buckets off the spile itself but we get a lot of high winds and I didn't want the collection container to blow away or even to collect random forest debris blowing around.
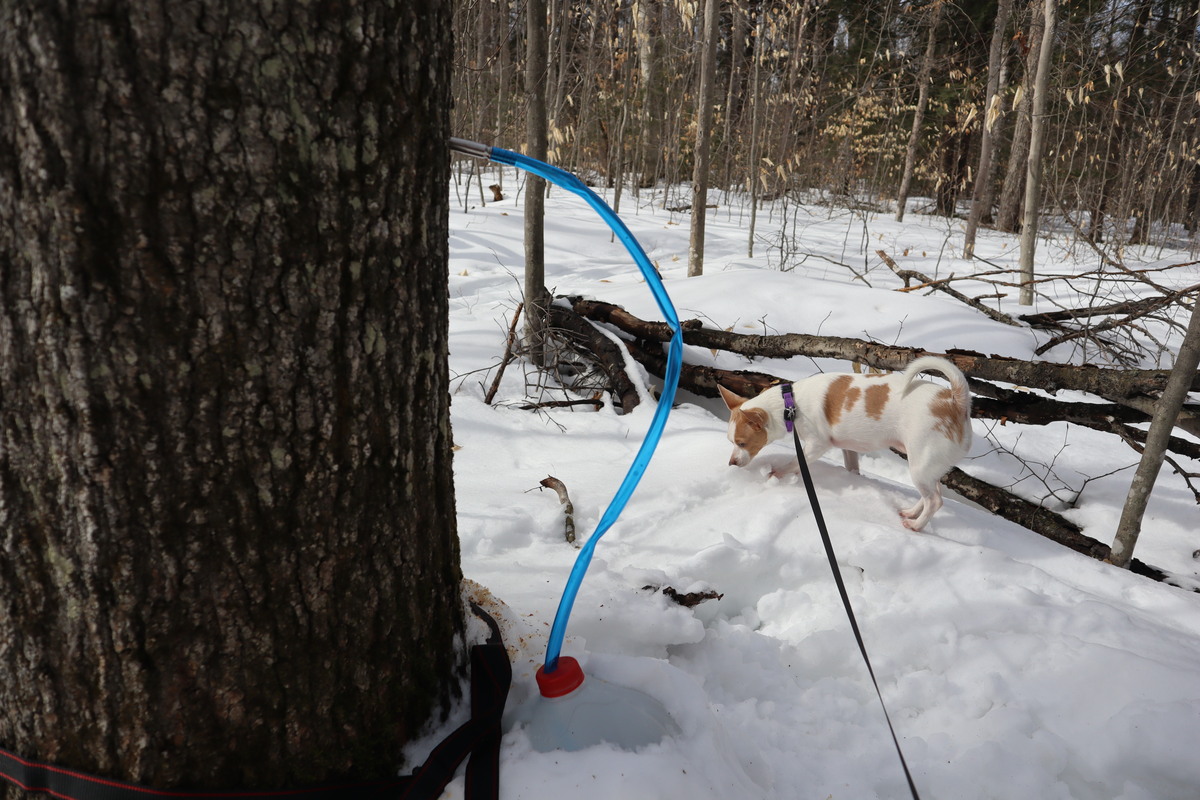
I went with the very cheap collection container of plastic milk containers. I drilled not only a hole for the tubing but also a smaller venting hole to let air out as the bottle fills up. This is not an ideal solution beyond cost. The tubing I used is specifically for maple sap collection and is blue because it blocks some kind of harmful (to maple sap) UV light. Since the bottles don't, I tried to bury them in snow. This also helped hold them in place against the wind and because I was really worried about that, I also strapped them to the tree.
With everything setup the next step was the easiest — wait until the next day. Many people will use 5 gallon buckets and check their trees every couple of days. With one gallon containers I needed to check mine two times per day. Some days some of the trees would have produced maybe a quart of sap, but a tree or maybe two would have filled the full gallon over night.
My superpower when it comes to maple syrup hunting is that I can go deep into a snow covered forest in ways normal people can't.
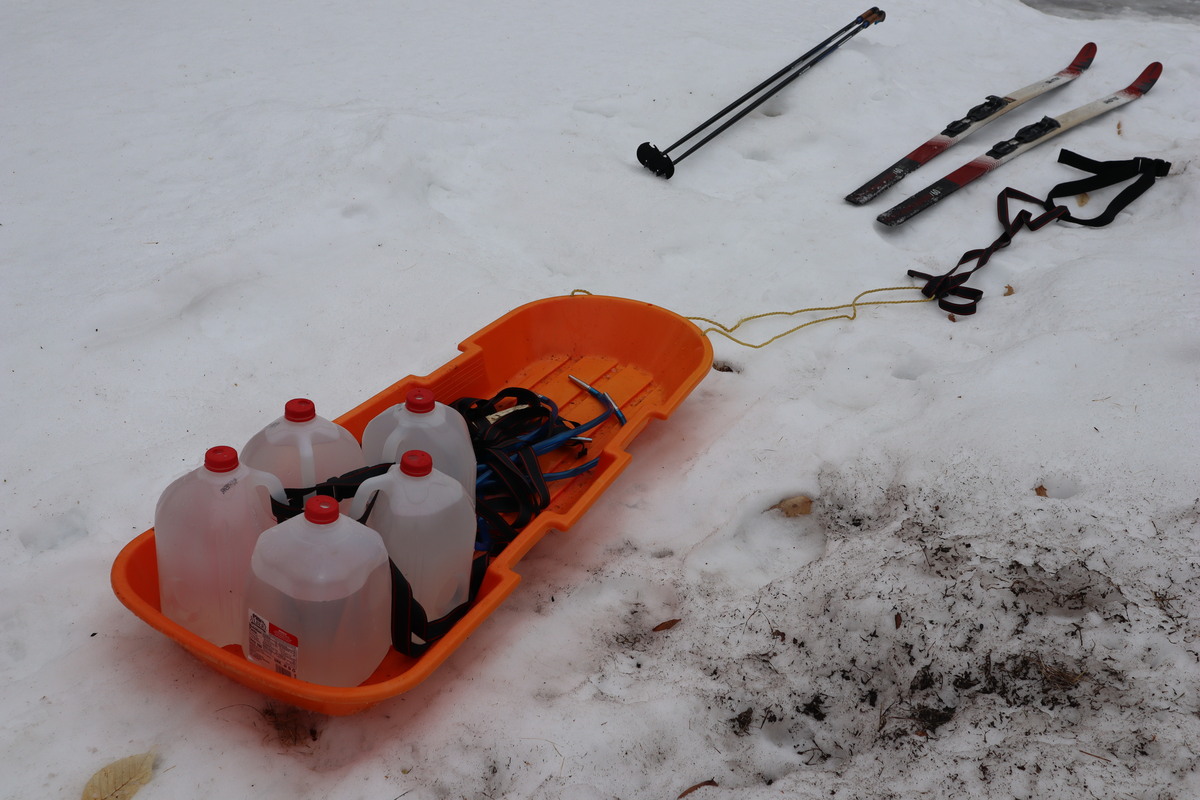
This is how I retrieved the sap every day. I put the spiles up on March 9th and collected them on the 14th (shown).
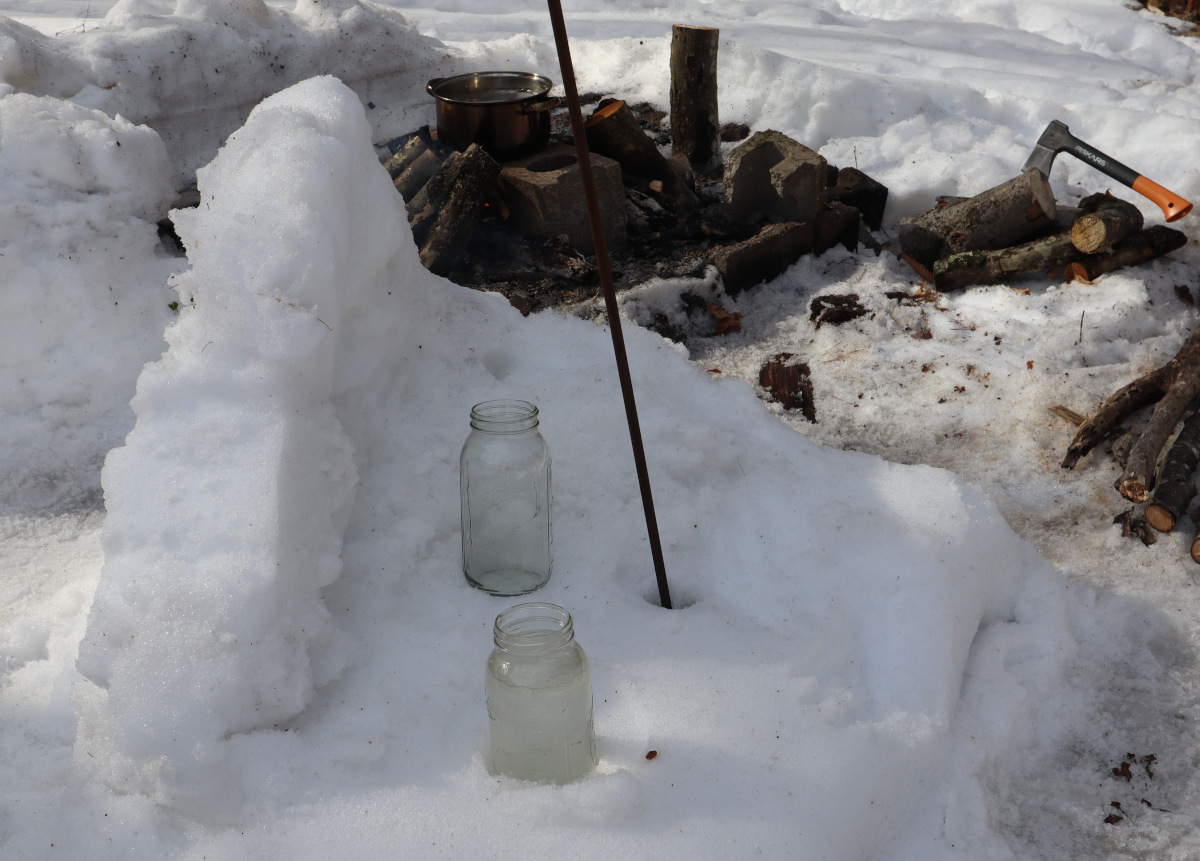
Here's an example of what I collected one day (12hrs).

A this stage the sap is quite clear and tastes basically like mildly sweet water. I'm sure I could have had much more — the weather is still cooperating two weeks later — but I knew I had already collected enough sap to be overwhelmed by the next stage of the syrup quest.
The real work required to produce maple syrup isn't getting the raw materials from the tree — it's refining it down to syrup. I knew I didn't have a great plan for this part of the operation, and that was because I wanted to verify that I could even have success with the sap collection. Once I did, I had to do some improvising.
Here's a look at the very rough fire setup I used to do the majority of boiling.
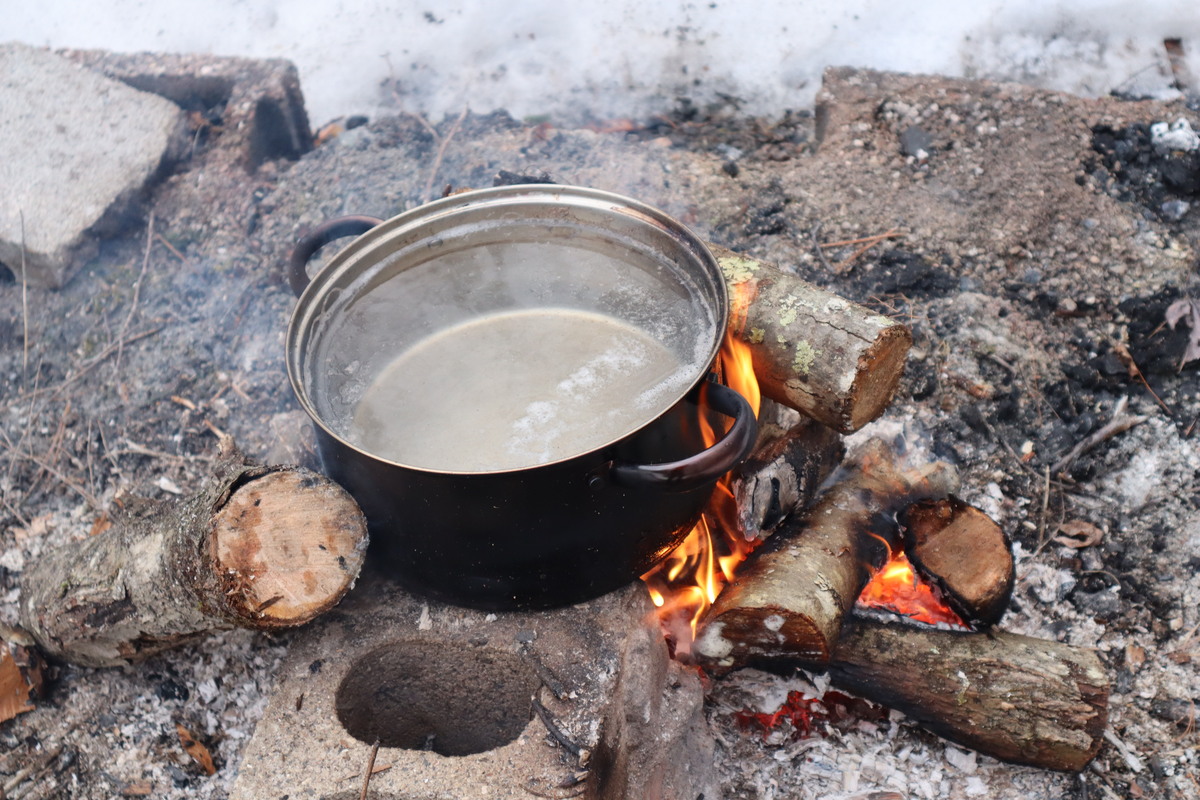
First of all it's just hard work to keep a campfire going. It's extra hard to do this in the winter when the ground and firewood are frozen and buried under feet of snow. However, I kept that fire burning for 20 hours over two sessions. Each time it would take over an hour just to warm up the ground enough to have a fire hot enough to boil water.
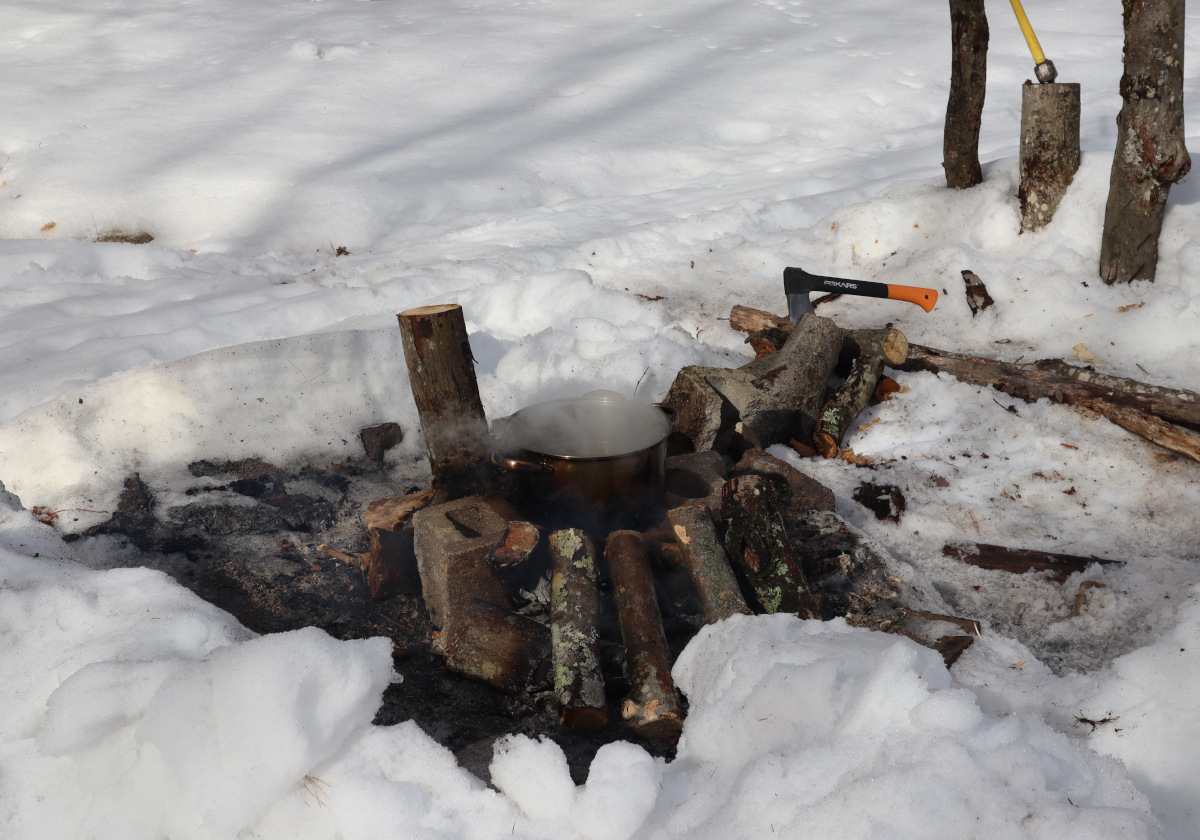
But I did it. I was even too lazy to charge, oil, and sharpen my chainsaw, so all the wood was cut with a hand saw.
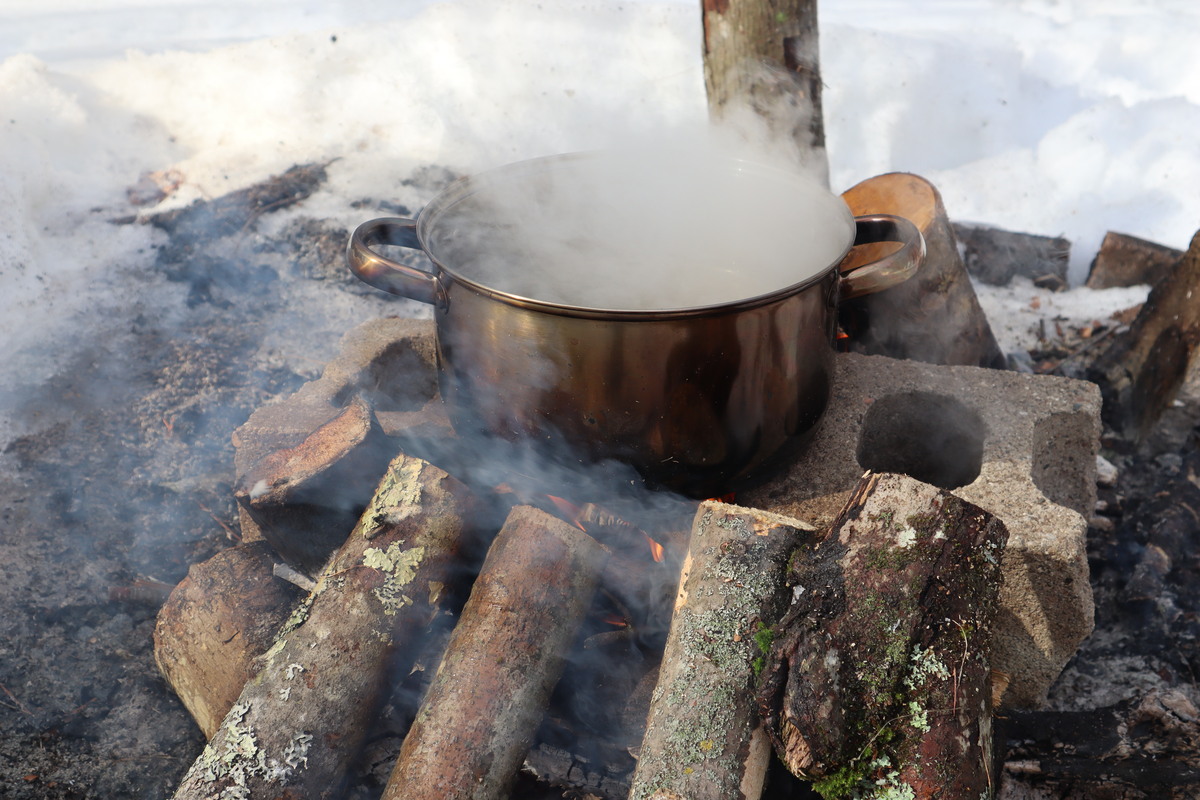
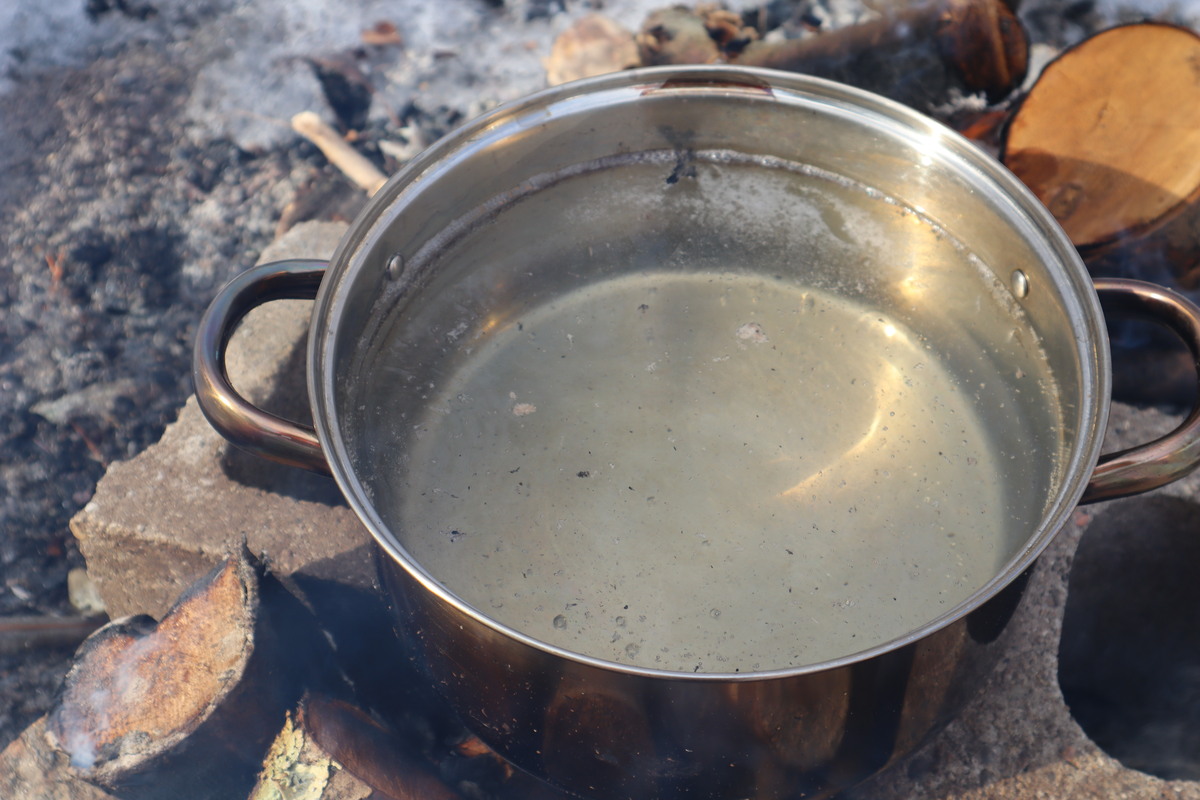
It was satisfying when I could see clouds of steam pouring off the pot.
What was less satisfying was how crazy the needed reduction was. After 10 hours I might have boiled 4 gallons into 1 gallon. Here's what that product looks like.
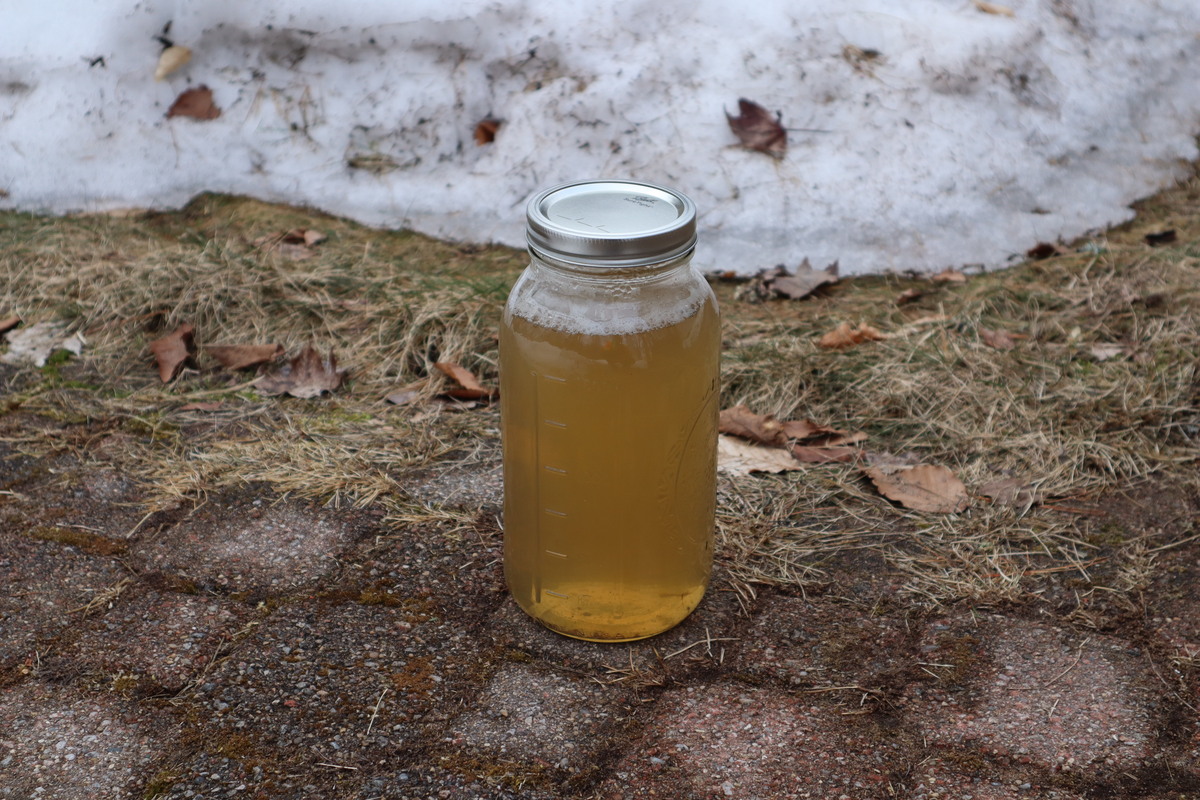
Very annoyingly that's still not even close. That liquid tastes like tap water mixed with artificial sweetener; it's cloying and had no discernible maple flavor to it at all. That was kind of disheartening.
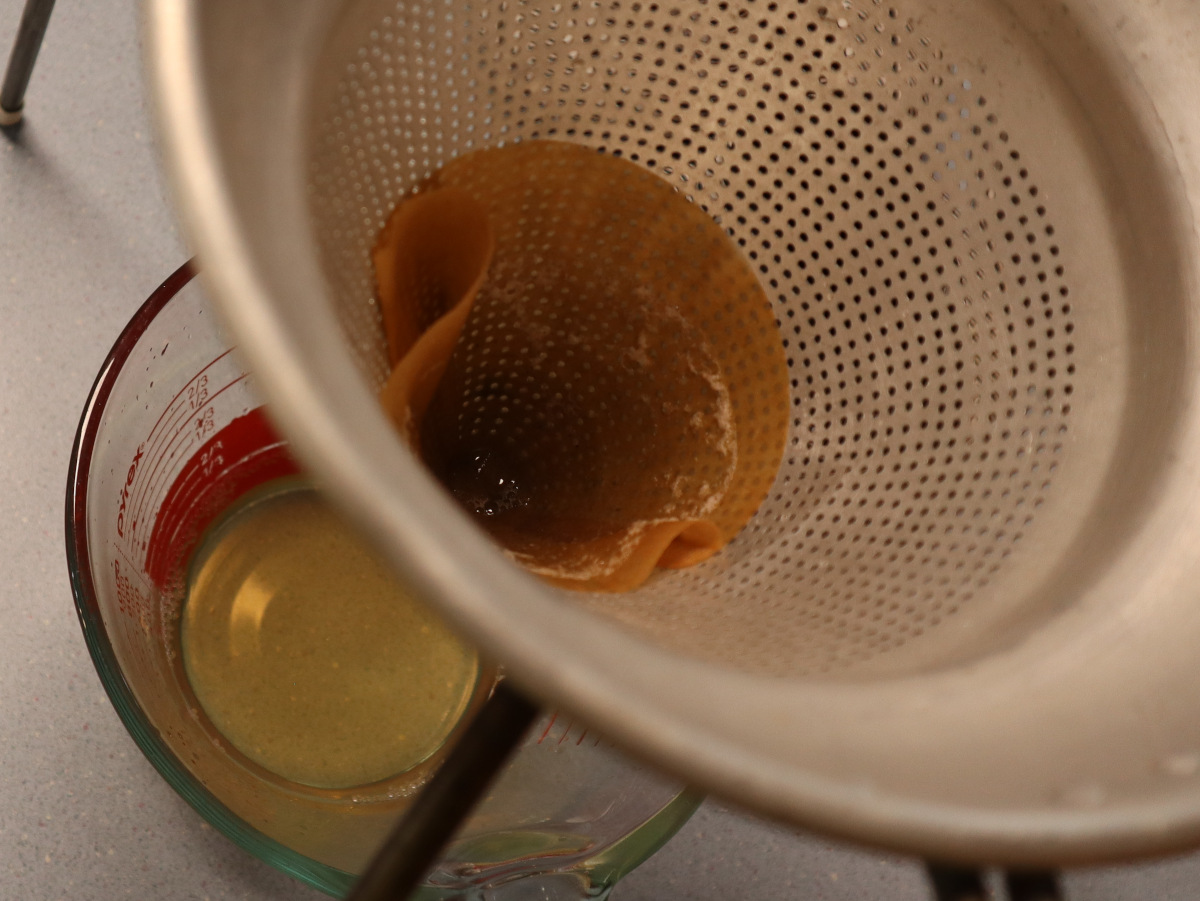
Obviously if you have an open pot boiling away for many hours on a smoky campfire (remember that wind I mentioned?), it will pick up ash and other random forest products.
This needed to be filtered. I found that at this stage of reduction, coffee filters worked fine.
The next step I tried was using an induction cooker to boil this concentration down in a pan with a lot of surface area.
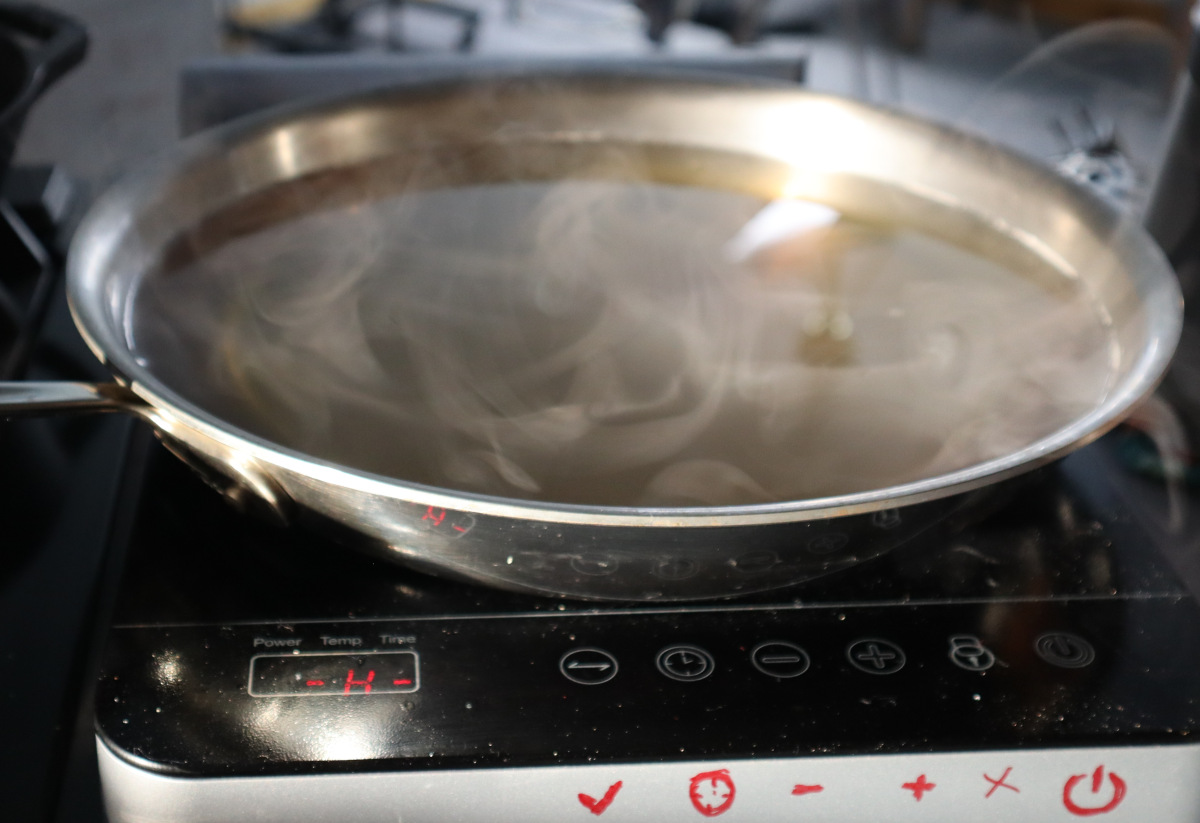
The thing I realized was that if the liquid was warm it would steam for quite a while with no heat applied. So I would turn the power onto 1200W for 5 minutes every 20 minutes. (Yes, that is very similar to having it on 400W for an hour but with much less fuss from the cooker's noisy fan.) You can see that the cook top is hot ("-H-") but not actually cooking and yet it's steaming like crazy.
Eventually this works! The intermittent powering of the process helps to prevent boiling all the water out and scorching it. After maybe $0.25 worth of electricity I was able to fill half a normal maple syrup bottle with actual syrupy maple syrup.
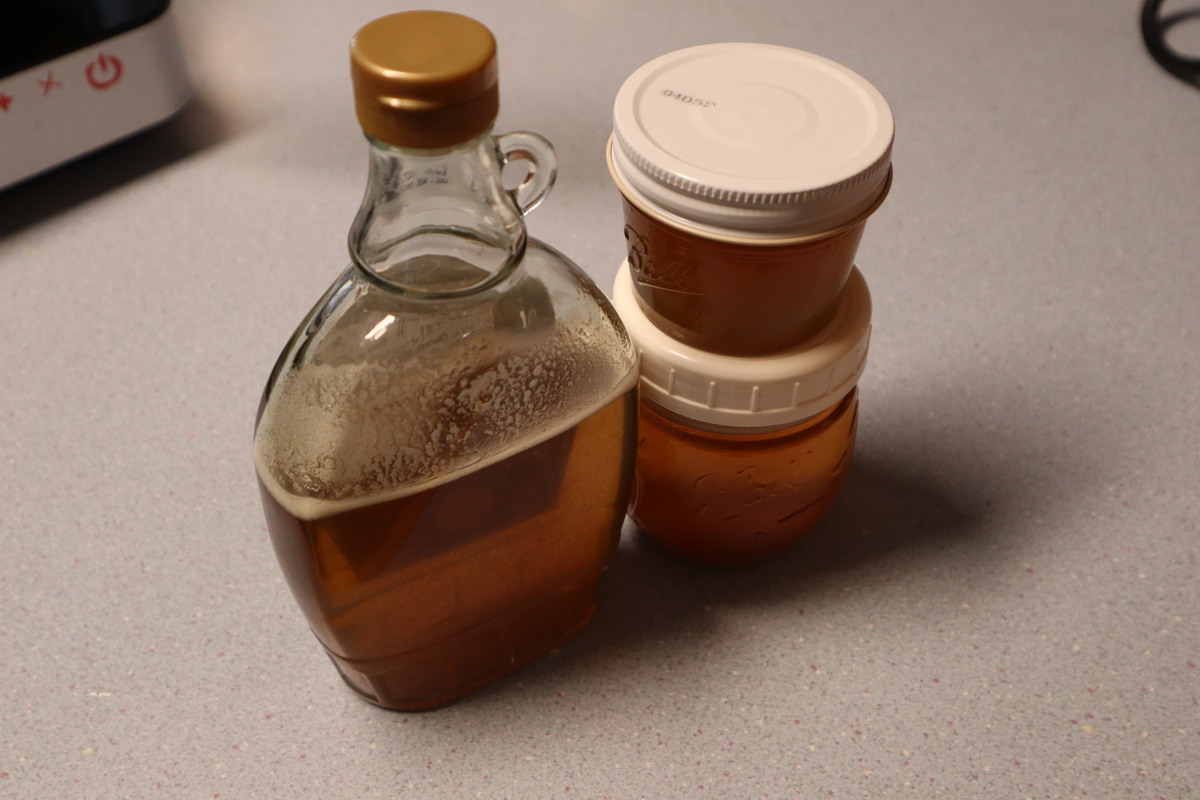
I don't usually eat a lot of pancakes — these were the first I've made in years — but I'm changing my habits now that I have this absurdly difficult to obtain syrup to use up.
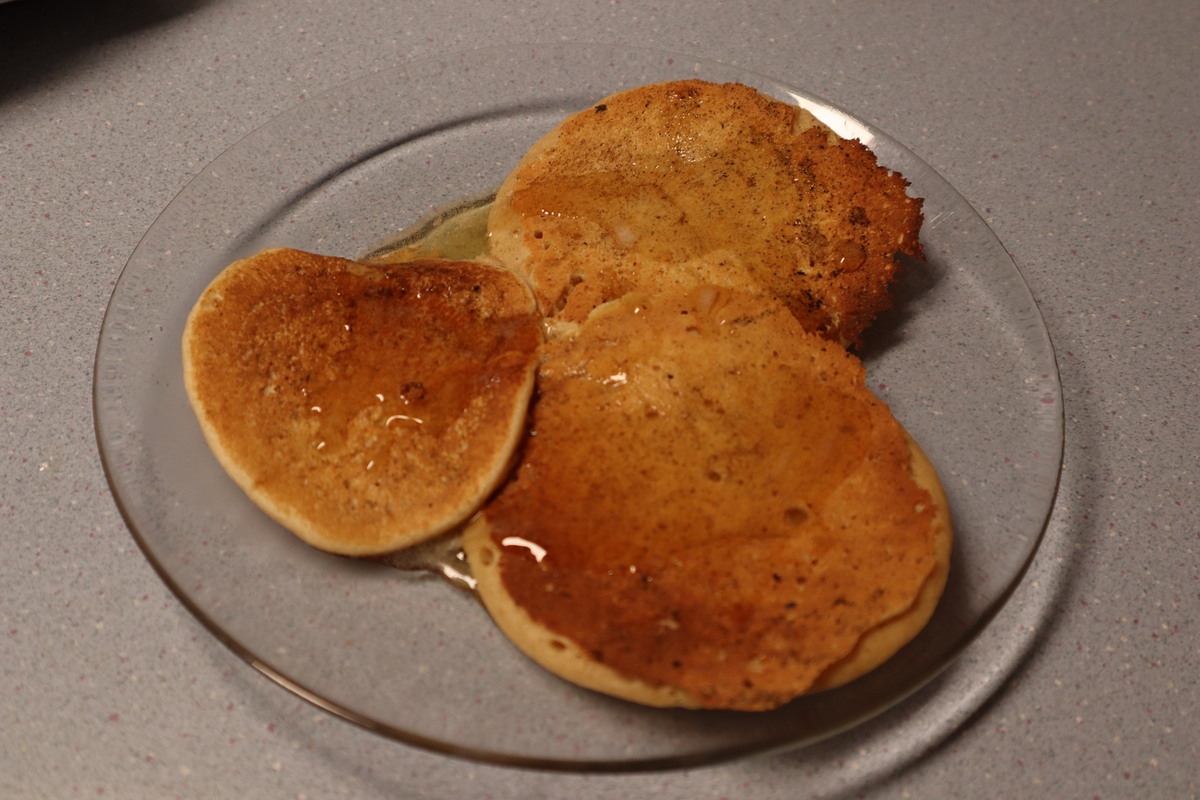
I'm quite nervous that the syrup will go bad before I use it all, so I'm eating a lot of it! We're also using the sap directly too — for example, there's no point in boiling oatmeal in plain water and then mixing in maple syrup (which you painstakingly removed all the plain water from). Boiling oatmeal in maple sap works great and skips a lot of steps!
One thing I am somewhat disappointed by is that the finished maple syrup is definitely maple syrup but it is like a very pure clean syrup that doesn't taste much like anything. I like heavy maple flavoring — the more, the better! So I don't know what to make of that. Still it's quite tasty!
Overall, I'm happy with this project. It was mostly a victim of its success and I think that being more confident about it next year could embolden me to make bigger investments in equipment and effort. The main thing that could be improved is a better cooking pan. What I really need is something like a buffet type pan like this.
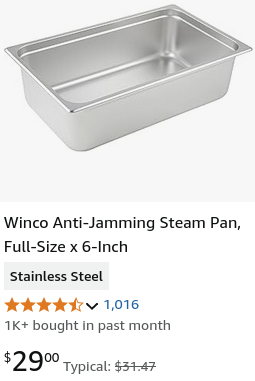
Two of them actually, so that concentrated syrup can boil at a different schedule than new. That shape would also help quite a bit to get a more efficient heat transfer. And while I did have a bit of firewood prepared for last season, that will want to be increased quite a lot. Firewood is something else the forest has no shortage of.